tl;dr: I designed a custom blinking badge based on the DAVINCI space exploration program for an intro to soldering event!
It’s been a rough time…But I had an awesome time designing a custom blinking electronics badge for an intro to soldering program for the Johnson County Library MakerSpace!
We teamed up with out local Arts and Heritage Center for the occasion: the project is part of a joint effort to celebrate NASA’s DAVINCI mission to explore Venus’ atmosphere. We wanted to create something unique so we put out ideas together with the Parks and Rec people for fresh ideas!
Getting started
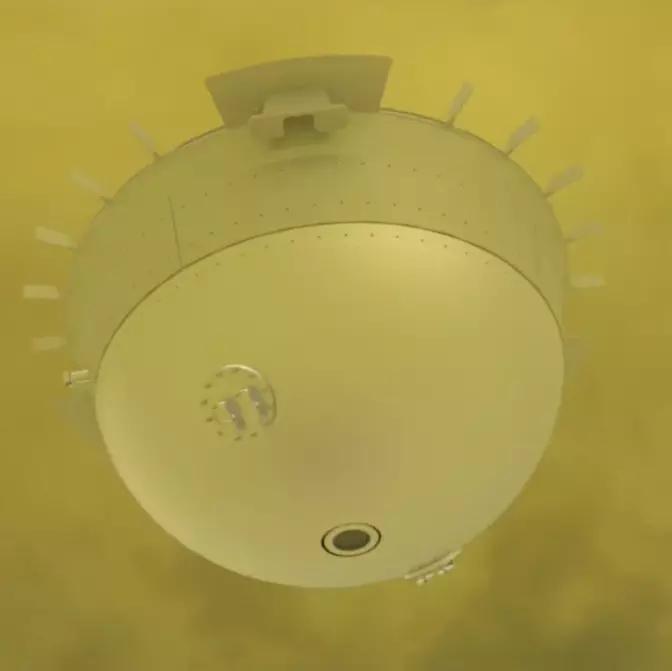
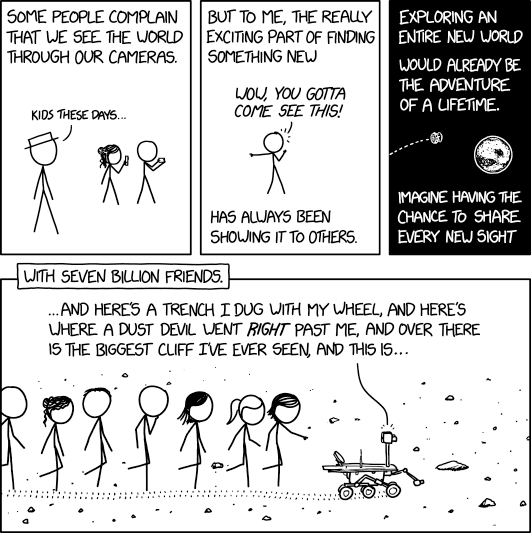
Since we were making a badge for a kids intro to soldering program, we kicked things off by picking a great design! For this, we turned to our colleague Lydia: she’s an illustrator by trade, and after sitting down with artist renderings of the DAVINCI probe and some XKCD comics for reference, she created the perfect little cartoon DABLINKY for us!
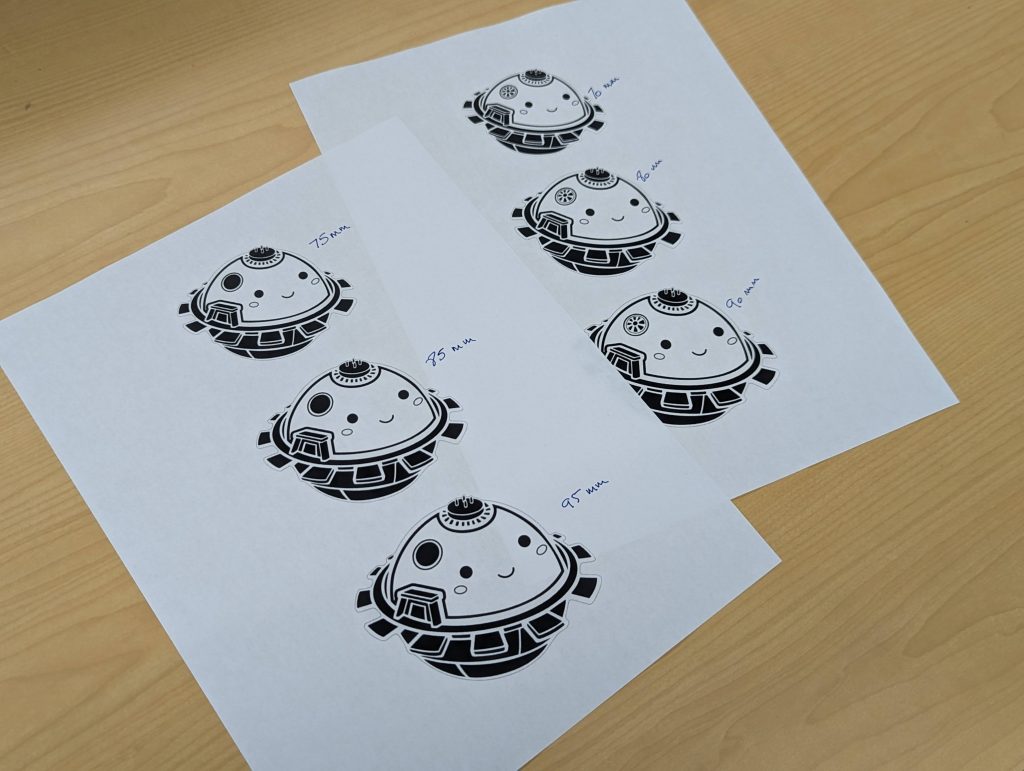
Next up was taking Lydia’s character and making sure the PCB screenprinting would do it just is. You can make beautiful, artistic PCBs but the process still has its limitations! So I went into a copy of the design file in a way that was respectful to Lydia’s original design. After that, I printed the design at difference scales so we could pick a size we thought would work for the our badge!
Electronics time!
I had designed electronics boards with KiCAD a looooong time ago…But that was a long time ago, and I didn’t have the time to re-learn how to use this really powerful, but really complicated-to-me piece of software! Plus I needed an easy way to share projects with the rest of the team so we could work on them all together: that’s why I turned to EasyEDA this time around.
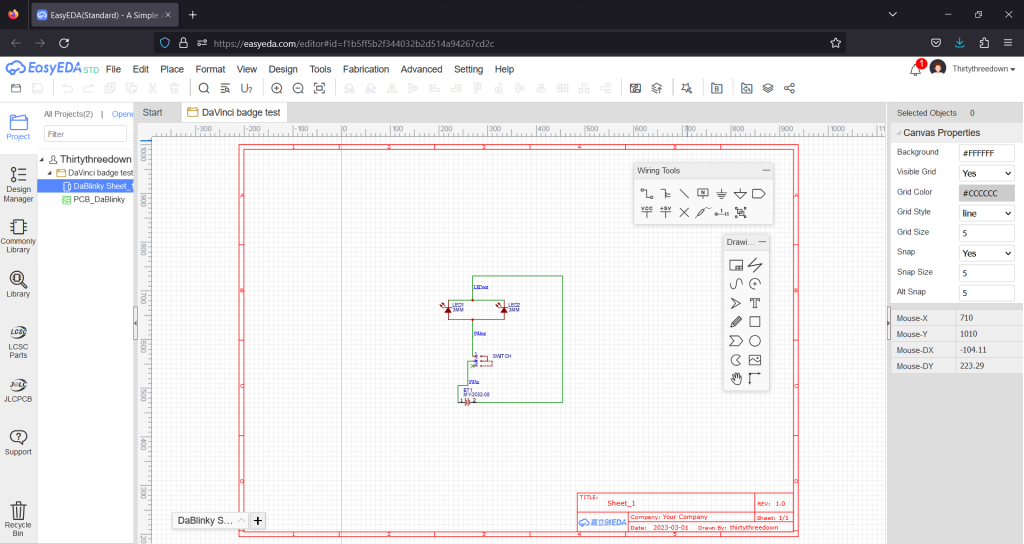
Things were a little challenging at first: it took me a while to understand the EasyEDA workflow and I had a hard time finding my way around the wealth of community-contributed schematics and footprints available for I’m sure just about every component you might imagine…But once I figured things out and found just the right tutorials, I put together a schematic for our blinky badge, and moved on to PCB design.
What, no resistor?
Electronic components can be pretty fragile, which is why they’re usually protected by a resistor. For LEDs, it means the resistor would play the roll of an absorber, taking it the electricity the LED won’t be using so the extra doesn’t damage it over time. So…Why not here?
Because it’s just an introductory project to a new skill! Soldering and electronics are intimidating as they are. Taking shortcuts like forgetting a resistor in front of an LED makes it more approachable to beginners, and for a low-stakes project like this, the LEDs can take it anyway. There’s always time to learn better habits later!
And then…I had to do it all over again for the PCB design part! Yup, again, lots of options provided by the community, etc. The important part here was knowing where to find the critical measurements for the components, and being able to change them up to match the components we had or that we were ordering.
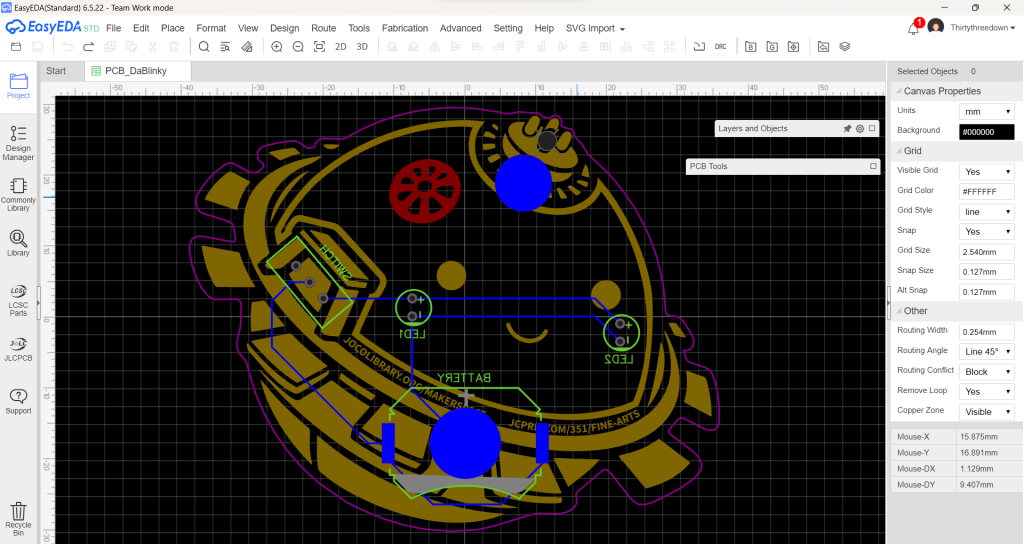
Once that was done, it was time to work on the designy part of the badge. that’s where this SVG import extension for EasyEDA came into play: if you need to import graphics into EasyEDA without altering them, this is hands down your best option!
Production
After a couple rounds of prototyping with JLCPCB to iron out the kinks, it was time to put in The Big Order – 400 of them! They came in on time, well packaged, and we have not found a dud among them yet.

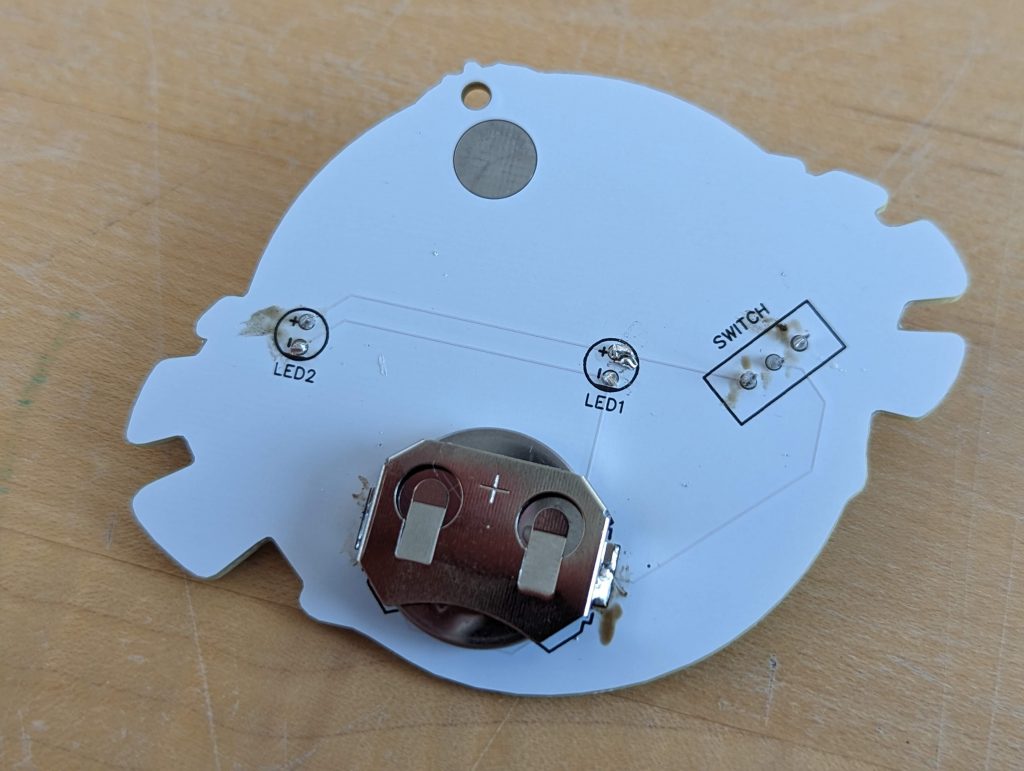
Kids will get to put these blinky badges together at workshops at the Johnson County Library’s Central branch, as well as at the Arts and Heritage center, during the Remake Learning Days Kansas City week. It should be a good time!