TL;DR: I made an app so we can use mini thermal printers from Walmart on our PCs! And learned a lot about reverse engineering along the way.
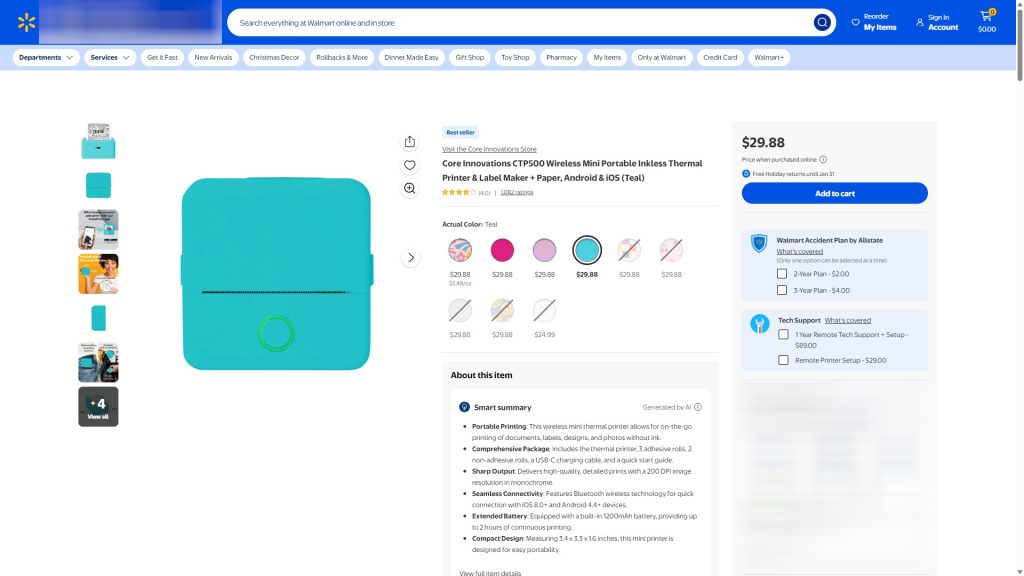
The thermal printer we are talking about today is Core Innovation’s CTP-500’s thermal printer. I first ran into it in the electronics aisle at my local Walmart, but you can find it on Amazon etc. It comes with a few thermal paper rolls and a few thermal sticker rolls, and you can buy refills for “regular” rolls as well as metallic sticker rolls. I stalled for a few days before buying one. After all, long time readers know I’m a sucker for a thermal printer project!
The Vanilla Experience
The first thing I did when the thermal printer came in was try the printing experience as Core Innovation Products intended. It was…OK? Just what you would expect from a relatively small brand! Files access permissions felt a little sketchy, and I struggled with the interface. But the biggest problem was that I wanted to use the thermal printer with my desktop computer and out of the box, it wasn’t an option!
There’s probably a few reasons why you can’t use this thermal printer on a PC or Mac right away, most likely on the software side, but my favorite? Windows recognizes the printer as the CTP-500 – a medical scanner! The thermal printer will connect for a bit to the host computer, but that’s it.
After giving the vanilla experience a try, I felt good working on getting the printer to talk to my PC. And it all starts with the first step to every project: looking things up!
It’s Research Time
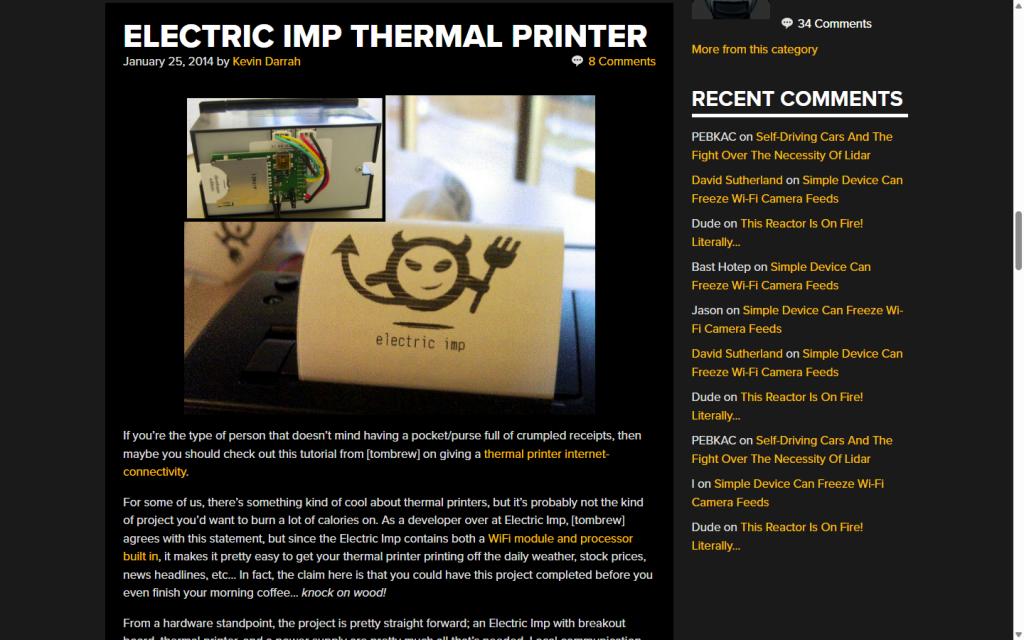
Mini thermal printers have been popular with makers for some time: Adafruit used to sell some really hackable ones, and some very talented people have contributed cool hacks for cat-themed and hamster-themed thermal printers. In no particular order I want to thank onezeronull, MaikelChan, rbaron and WerWolv for all their contributions!
So there’s plenty to read, and here’s what I learned:
- These thermal printers feature a few ESC/POS commands (a standard shared by many commercial thermal printers) but that’s it!
- Images or text, everything is turned into bitmap graphics for printing. Each line of the resulting bitmap is then turned into printing instructions, possibly with some form of shorthand compression
- Some thermal printers have a data integrity checking system required for printing, but not this one – or at least I was able to sidestep it!
PASSION DON’T PAY THE BILLS (YET)
Gimme some money.
Figuring Out Bluetooth
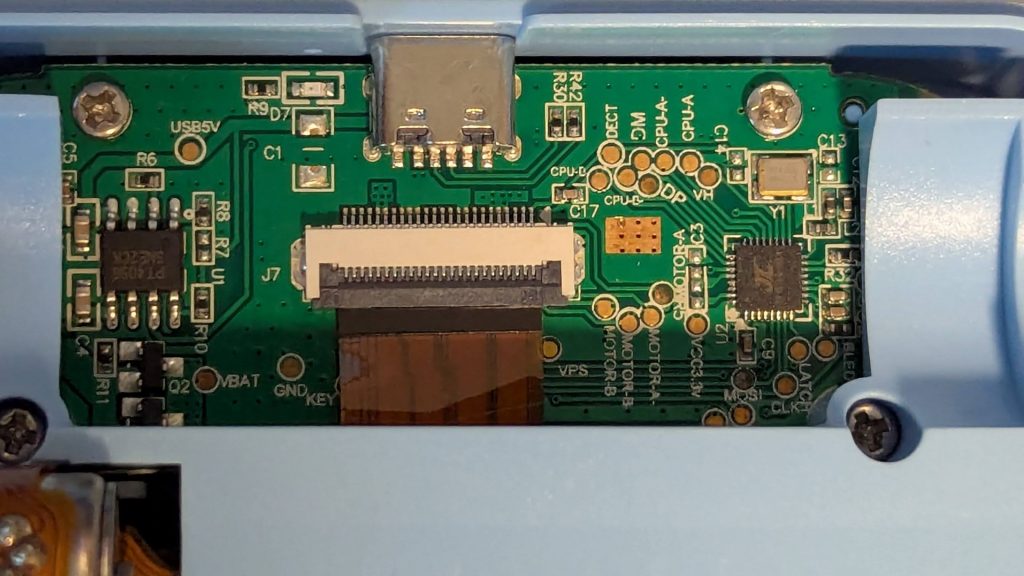
Early in this project, I popped open the printer to look at the board. I hoped I could solder a couple wires to some test pads and get a USB connection going! To the right of the printer board’s USB port, the DM and DP pads seemed like they could be great candidates to rig a quick and dirty wired connection.
But I had just gotten this thermal printer and I didn’t want to risk destroying it just yet! I decided I would try that out if I ever found another printer for really cheap. In the meantime, it meant I would have to reverse-engineer the printer’s Bluetooth communications – of which I knew nothing about on a technical level. It was time to learn more, and learn fast!
I fired up this tutorial from the Hacking Modern Life and followed the instructions to get a copy of the communications between my phone and printer. Combing over the Bluetooth logs, I figured out basic commands for the printer to move paper forward, get the printer’s serial number or its internal state data!
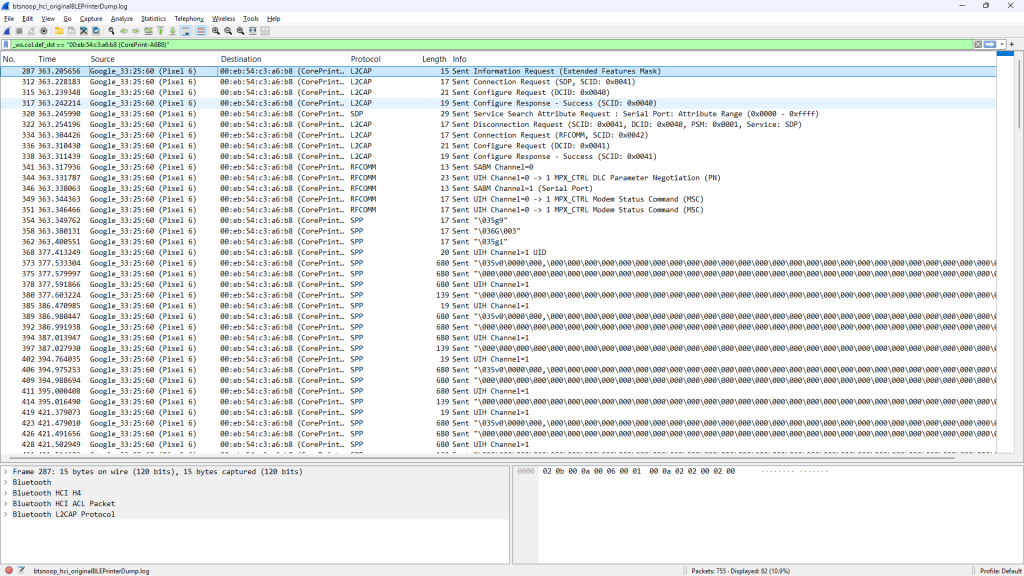
Even without decoding the ASCII and hex codes from the messages, I spotted an important pattern. Each print job is a three-step process:
- The first step is a message telling the printer to expect printing data
- The second step is the actual printing payload; it’s more or less long and dense depending on the data you want to print, and sometimes the print job gets split into several messages
- The final step is a message that says “we’re done printing”, with some instructions to move paper forward by a certain amount of lines.
Once I knew that, I figured everything else would be about data manipulation and packaging. Not easy, but definitely not impossible!
First Lines of Code
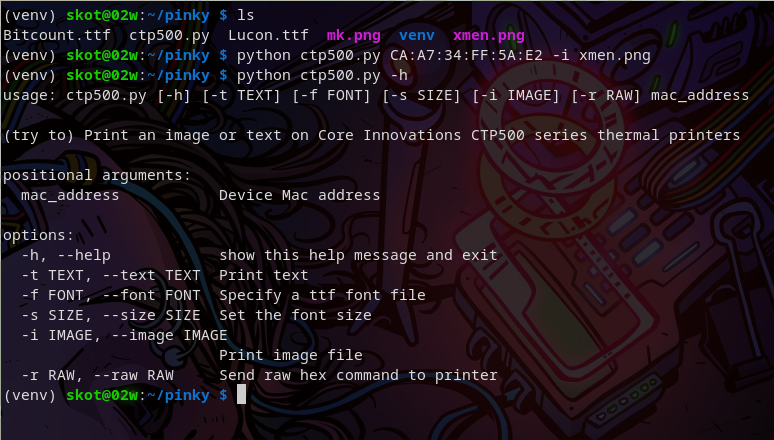
At that point, I had roped a few friends from SecKC into the thermal printer craze (hi bitflip, hi Tsathoggualware, hi Reid!). bitflip found code from voidsshadows on Github. They had reverse-engineered most of the messaging system for the CTP-500, written the essential functions in Python and even made a Web interface and a Cloudflare Worker setup for it! bitflip shared a stripped down version of the main Python functions as a command line tool and it worked great!
I added the functions I had found to the command line tool, and tested until I had a clear idea of how it all worked. We had successfully connected our little printers to our PCs! We could have stopped there…But it wouldn’t be very fun would it?
GUI O’Clock
I had been looking for a reason to learn how to graphical interfaces for a while. This was the perfect excuse! So I opened up a few tkinter tutorials, made coffee and got to work.
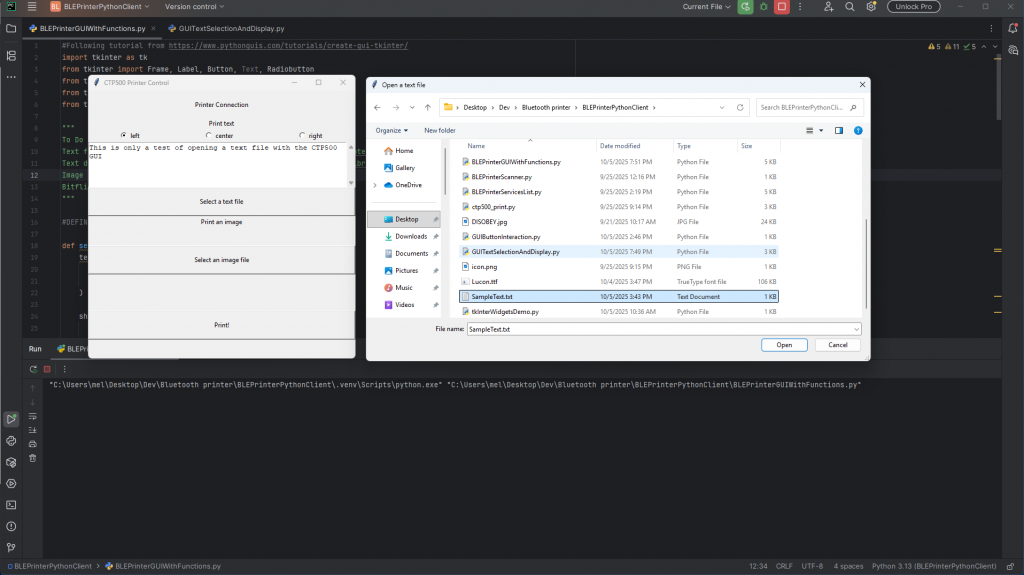
First, I separated the management of Bluetooth connections from sending prints. This let us turn the Bluetooth connection on and off as needed, and speeds up the time it takes to finish a print. Once that was done, I blocked a rough template for the GUI and:
- Added a Connect/Disconnect button
- Added a text field (with an option to browse and load text files)
- Added an image browsing and preview area
- And of course a Print button!
And with this last feature, I called it good!
You can find the code for the current app on Github. Before you start using this app, go through the following checklist:
- Make sure you have the required libraries (
tkinterandPillow, plus a bunch of default libraries) - Edit the code to put in your thermal printer’s Bluetooth Device Address in the
mac_addressvariable before starting the app (you can find it in the default app for the thermal printer) - Make sure you have the
Lucon.ttffont in the same folder as the app
SUPPORT MY CREATIVE ADDICTION
Gimme some money.
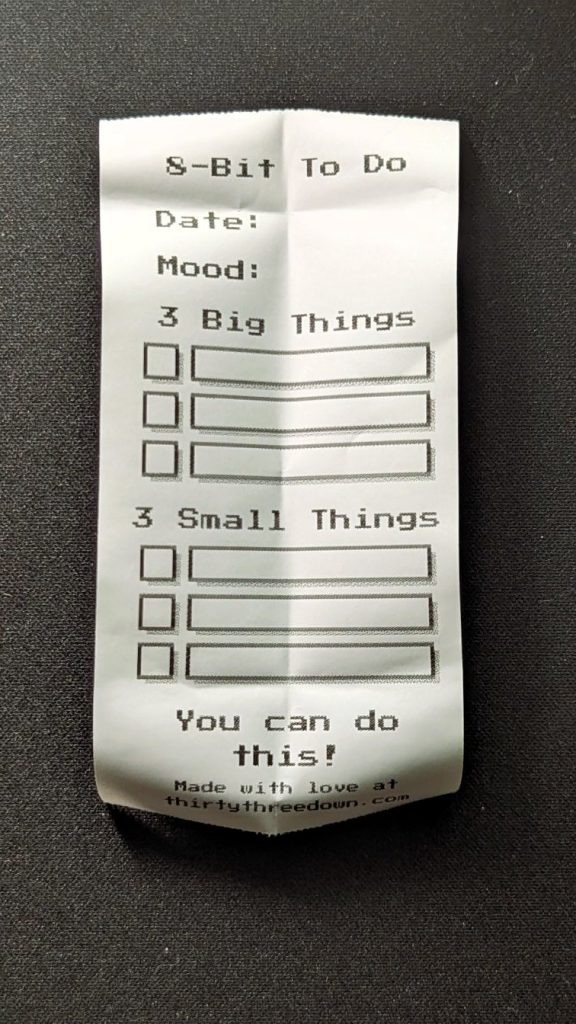
That’s it! The code is not very well commented right now, and I think I still need to standardize the variable names and whatnot, but all in all it should be working. To help you get started, I also added templates for useful little everyday things:
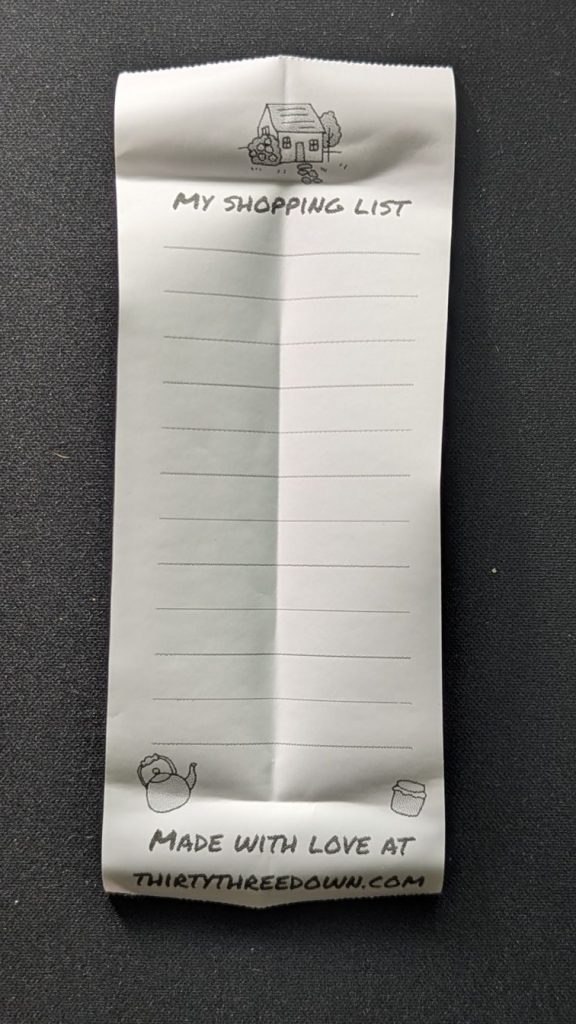
- A shopping list template
- A to-do list template inspired by my Web app 8-Bit To Do
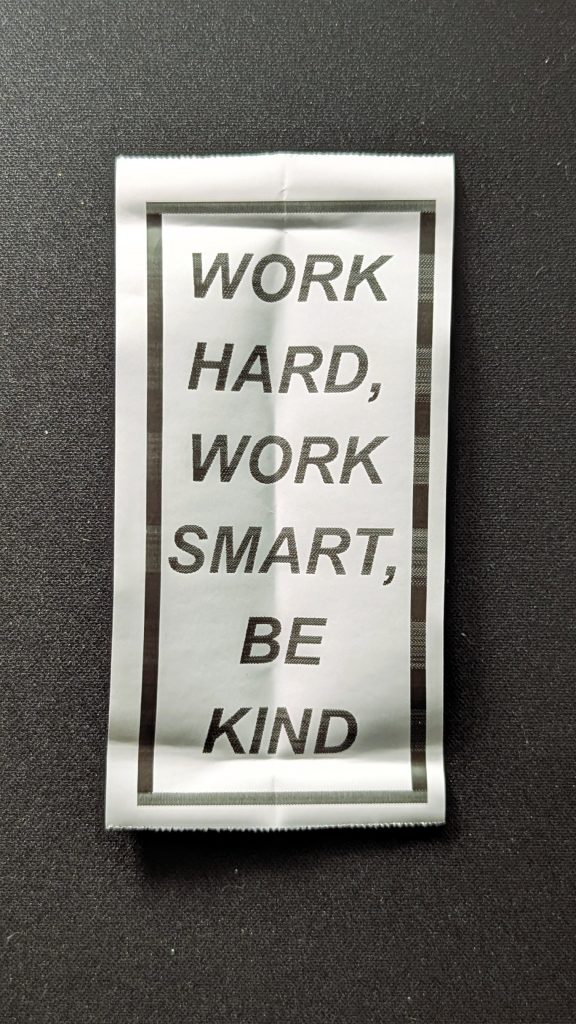
- A daily reminder that you don’t have to choose between working hard and working smart, and that it never hurts to be kind
The templates are in SVG and PNG formats so you can just print them right away or make them your own. Grab them while you’re there to make the most of your printer!
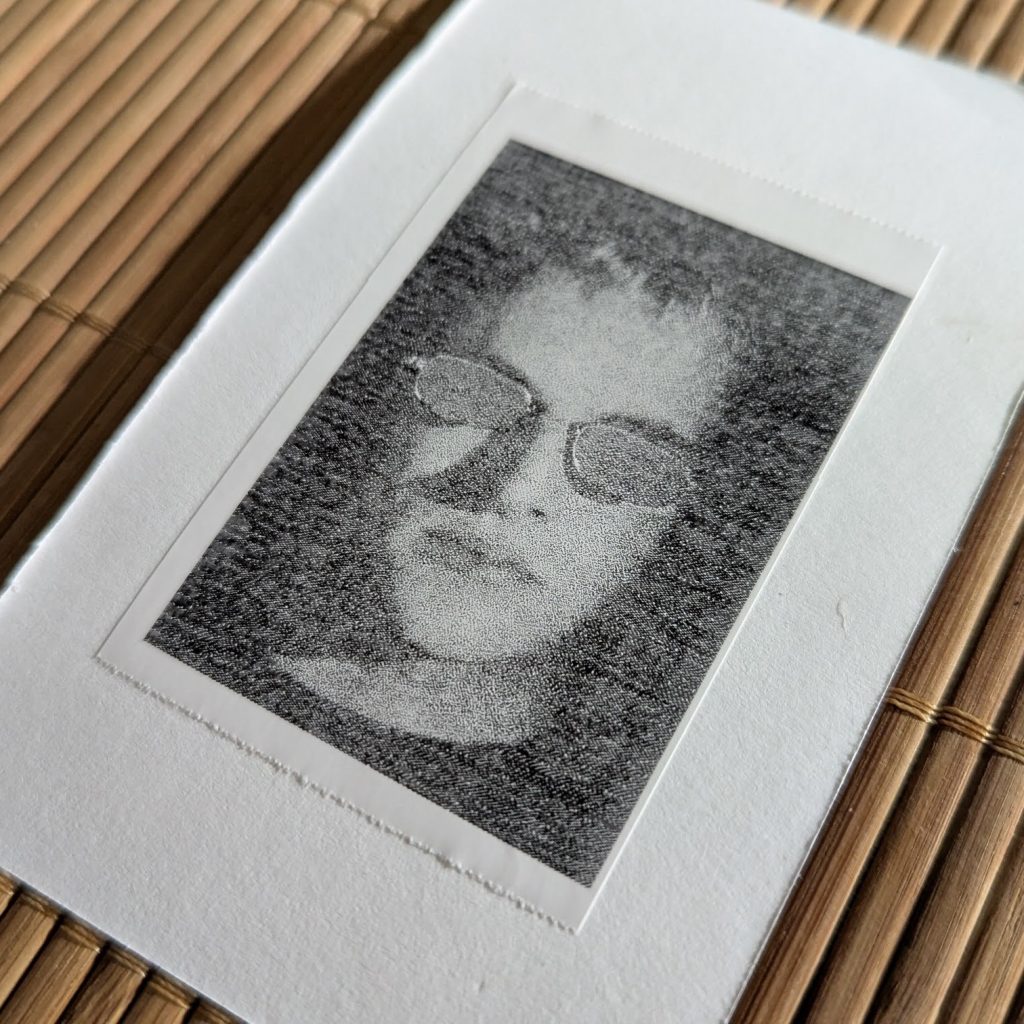
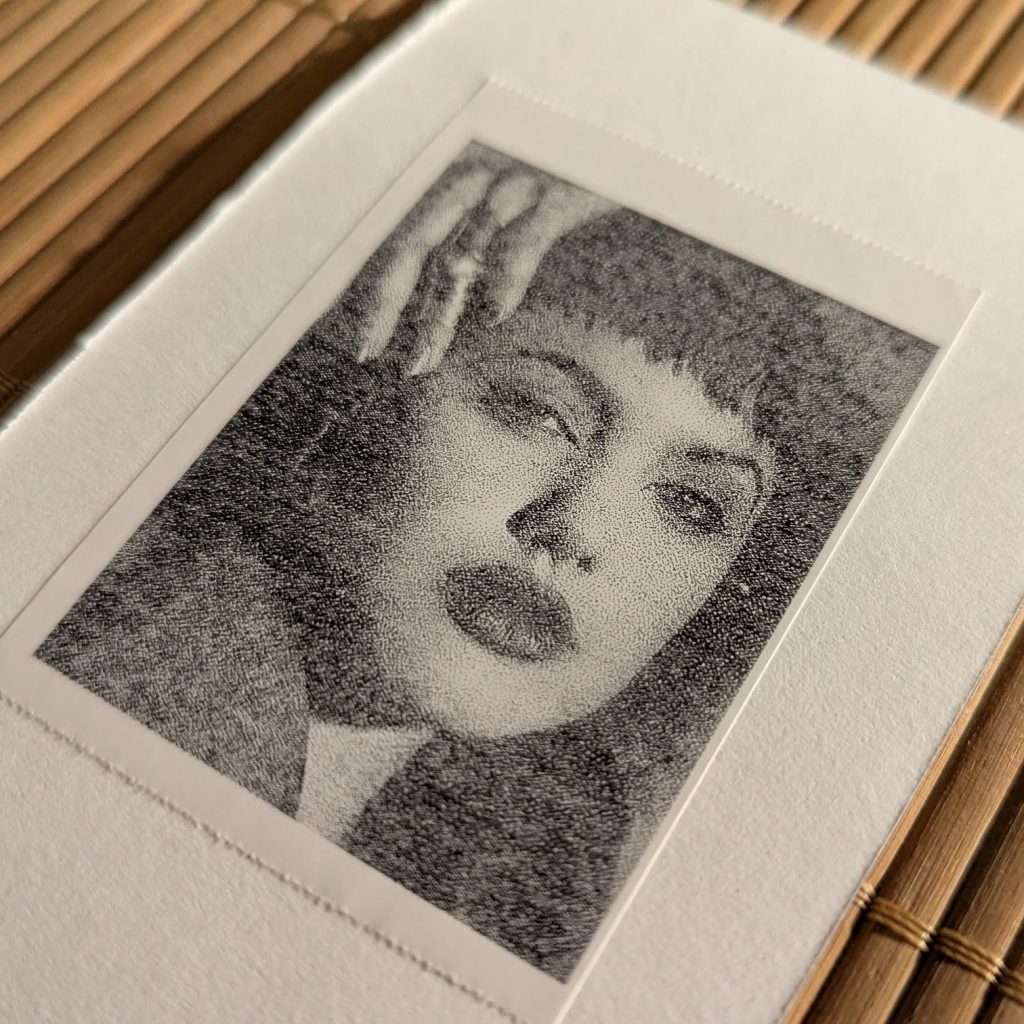
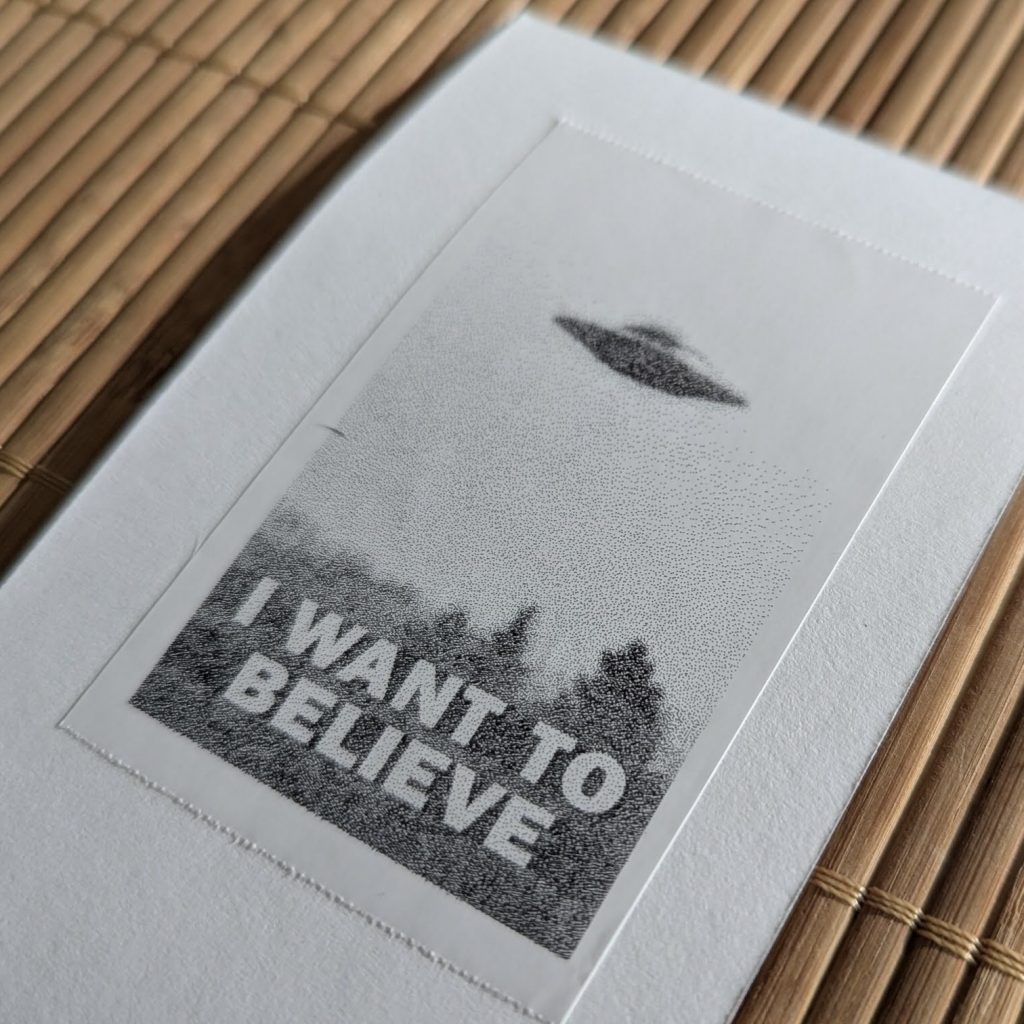
Prepping Dithered Pictures
As you saw above, thermal printers won’t get you high fidelity prints, but they will definitely have character. If you are going to print pictures that aren’t solid black and white, your best bet is dithered pictures. These can be a little complicated to make, so here’s a shortcut!
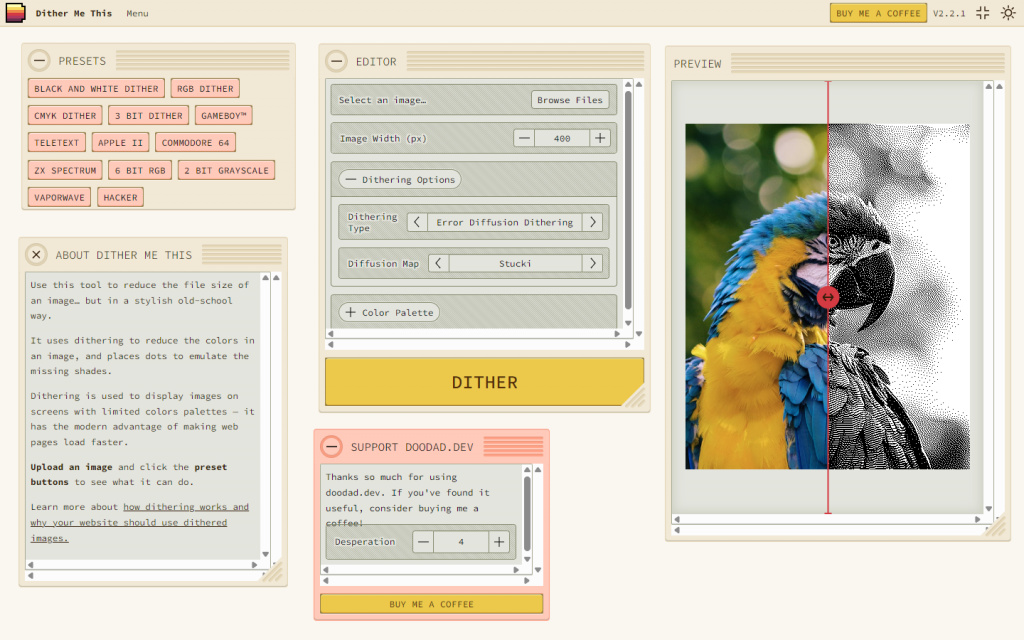
My favorite way to make dithered pictures is Doodad’s Dither Me This. It’s an online tool I first found out about when prepping laser engraving graphics at the Black & Veatch Makerspace. It’s super easy to use (and it looks really fun too). If you use Dither Me This, support a cool developer, send some money Nathaniel’s way!
Future Improvements?
This app is super, super rough. There is a lot of room for improvement in almost every direction! In a perfect world where I have time to sit down and take care of it, here’s my to-do list:
- A themed GUI using
ttk - Text justification and rotation and font selection
- In-app picture dithering, picture justification and rotation,
- A decent print preview system
This was my first dive into reverse engineering Bluetooth communications: I learned plenty, and the printer is even more useful to me now than it was out of the box. For all this project taught me, that was $20 very well spent!