tl;dr: I made a macro keypad to learn how to use the Pi Pico, and it got featured on Hackaday!
UPDATE: This build has been featured on the Hackaday blog – that’s pretty cool!
So the Pi Pico came out the other daaaaaaay.
I was instantly interested in this new micro controller because 1) I’m a big fan of Pi Foundation products and 2) it runs on Python, the programming language I’m most comfortable with!
I decided to make a macro keypad as a practice project: I had leftover switches and caps from a previous mechanical keyboard build, and it would come in handy as we were just returning to physical offices after two years away because of COVID and renovations!
I started out by figuring out what I needed that macro keypad to do: the scratched-off keys on my laptop told me that a key combo to save files was a must. I also kept track of my needs for a couple weeks and landed on the following:
- locking your workstation
- saving your current active file
- minimizing all windows to desktop, or restoring them
- moving windows to the monitor to the left or to the right
- computer volume control
Did all these actions have a keyboard shortcut in Windows? Yes, yes they did!
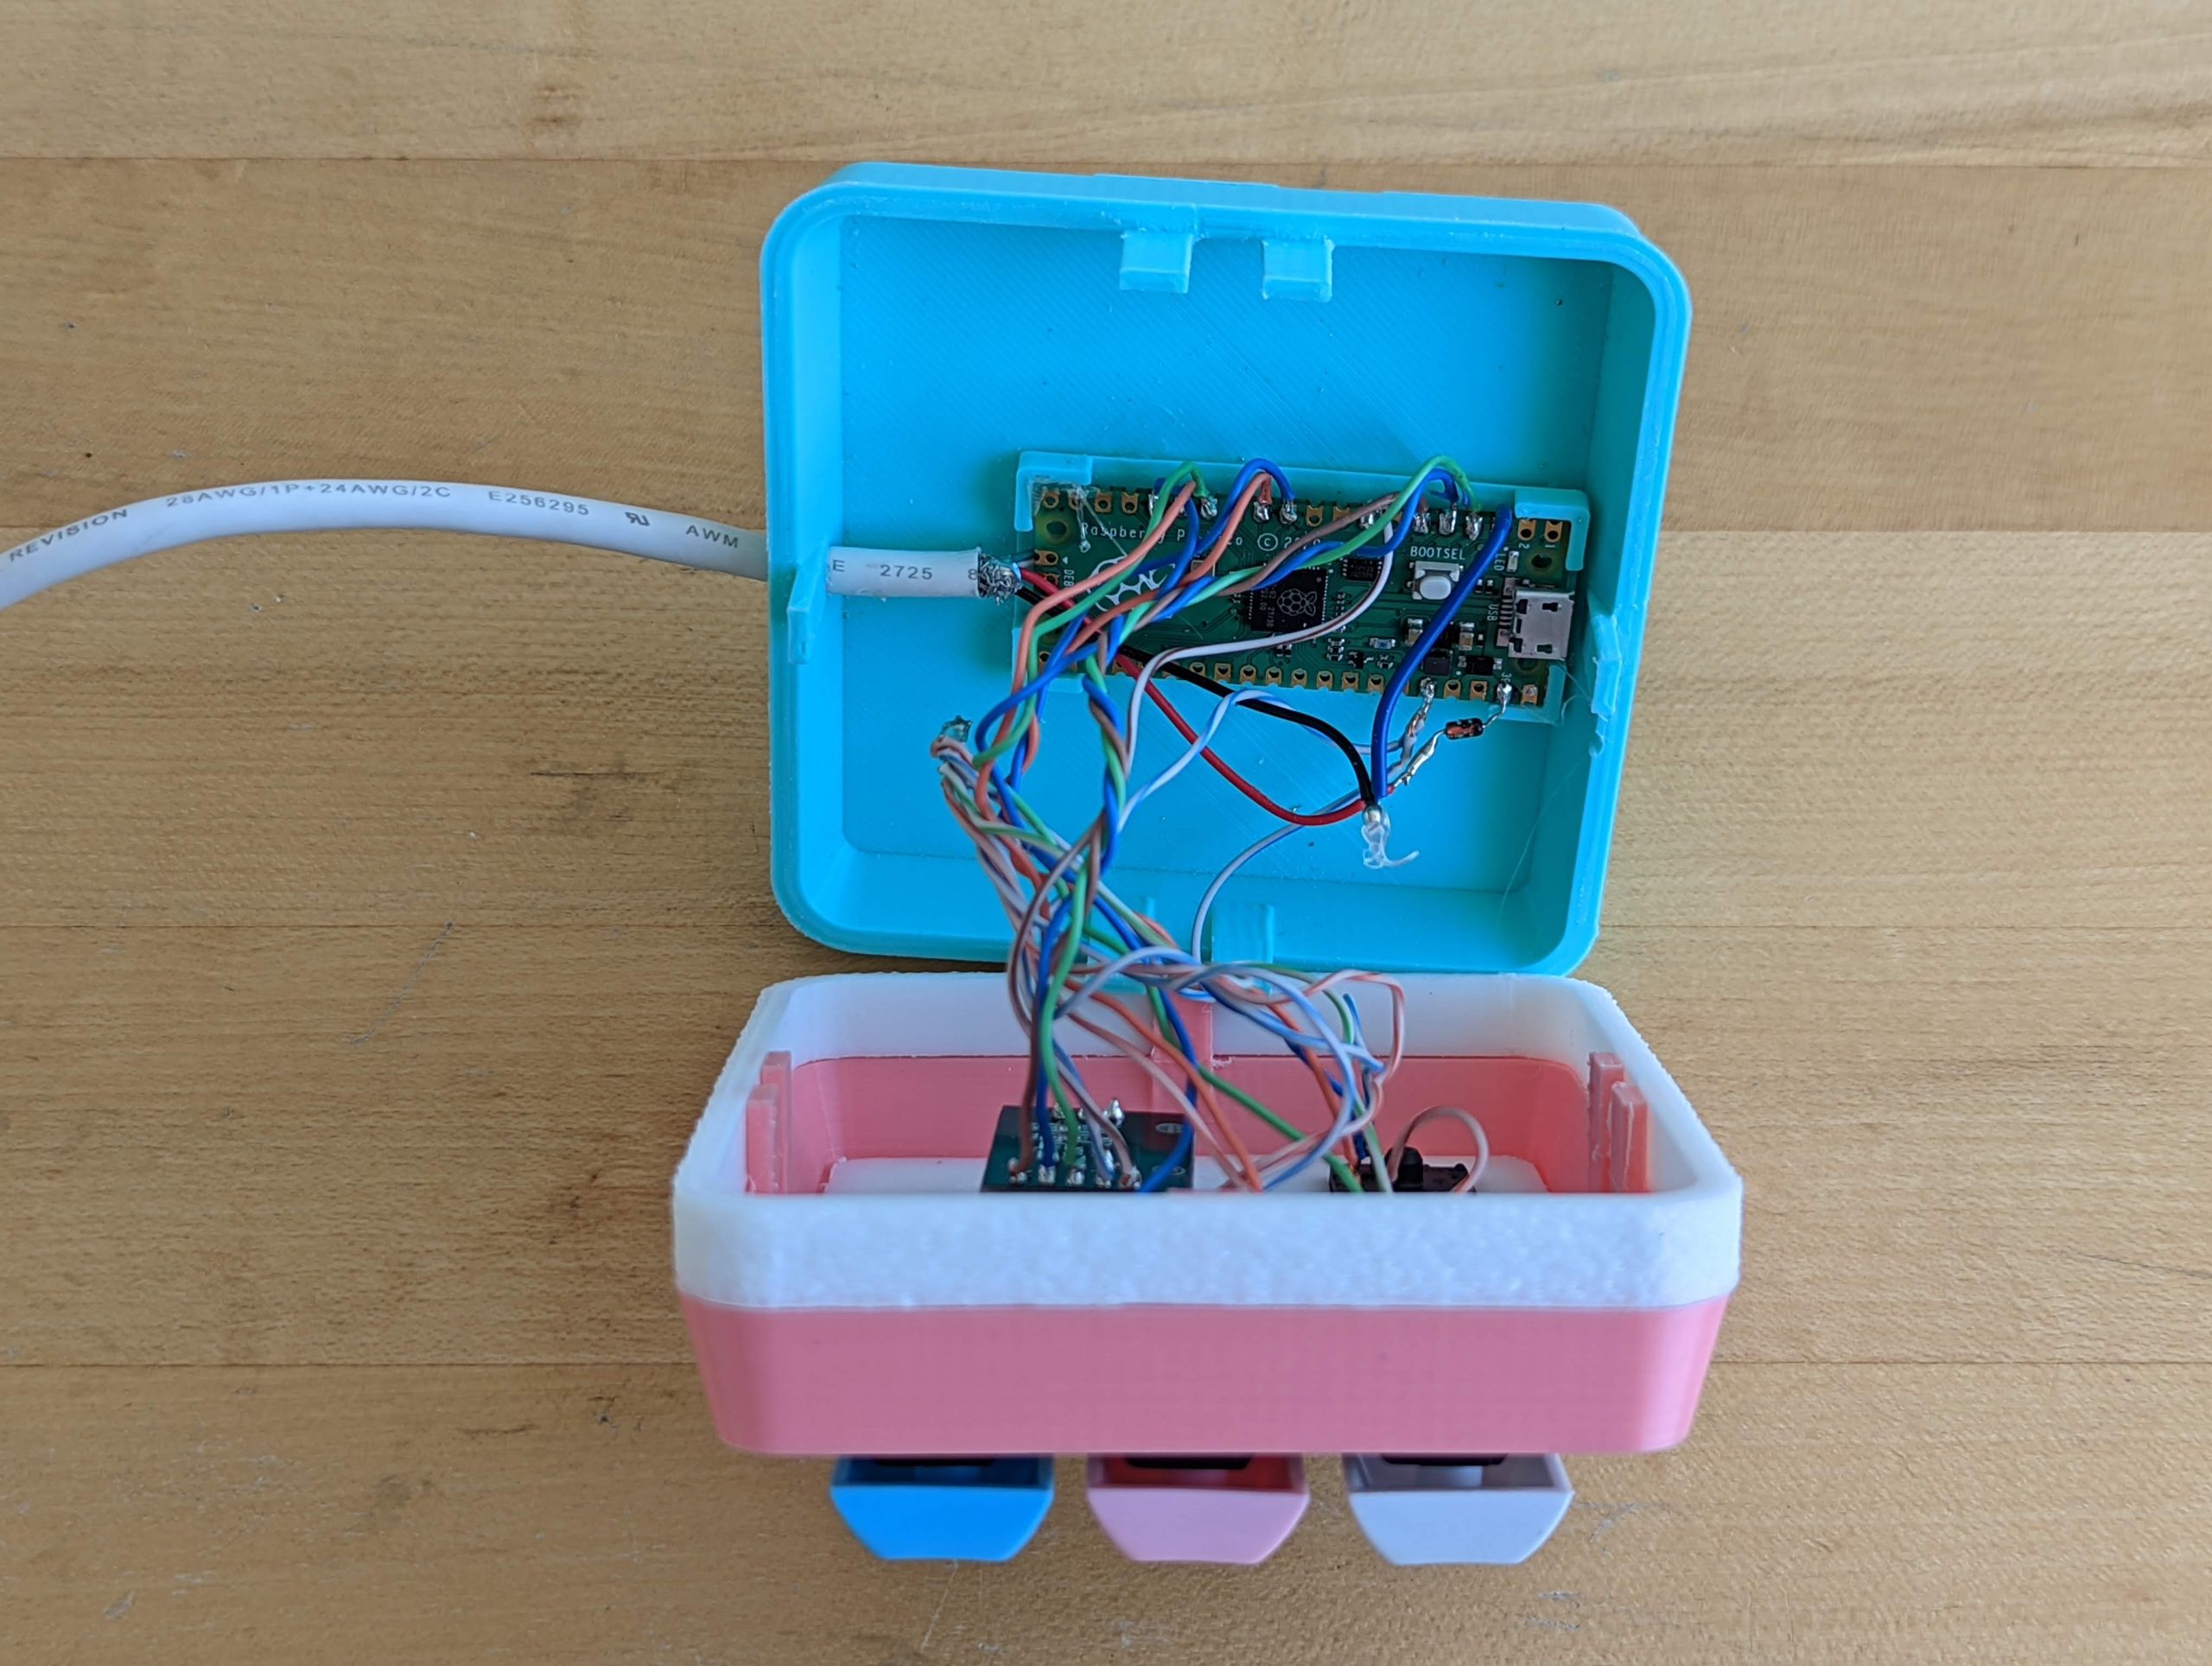
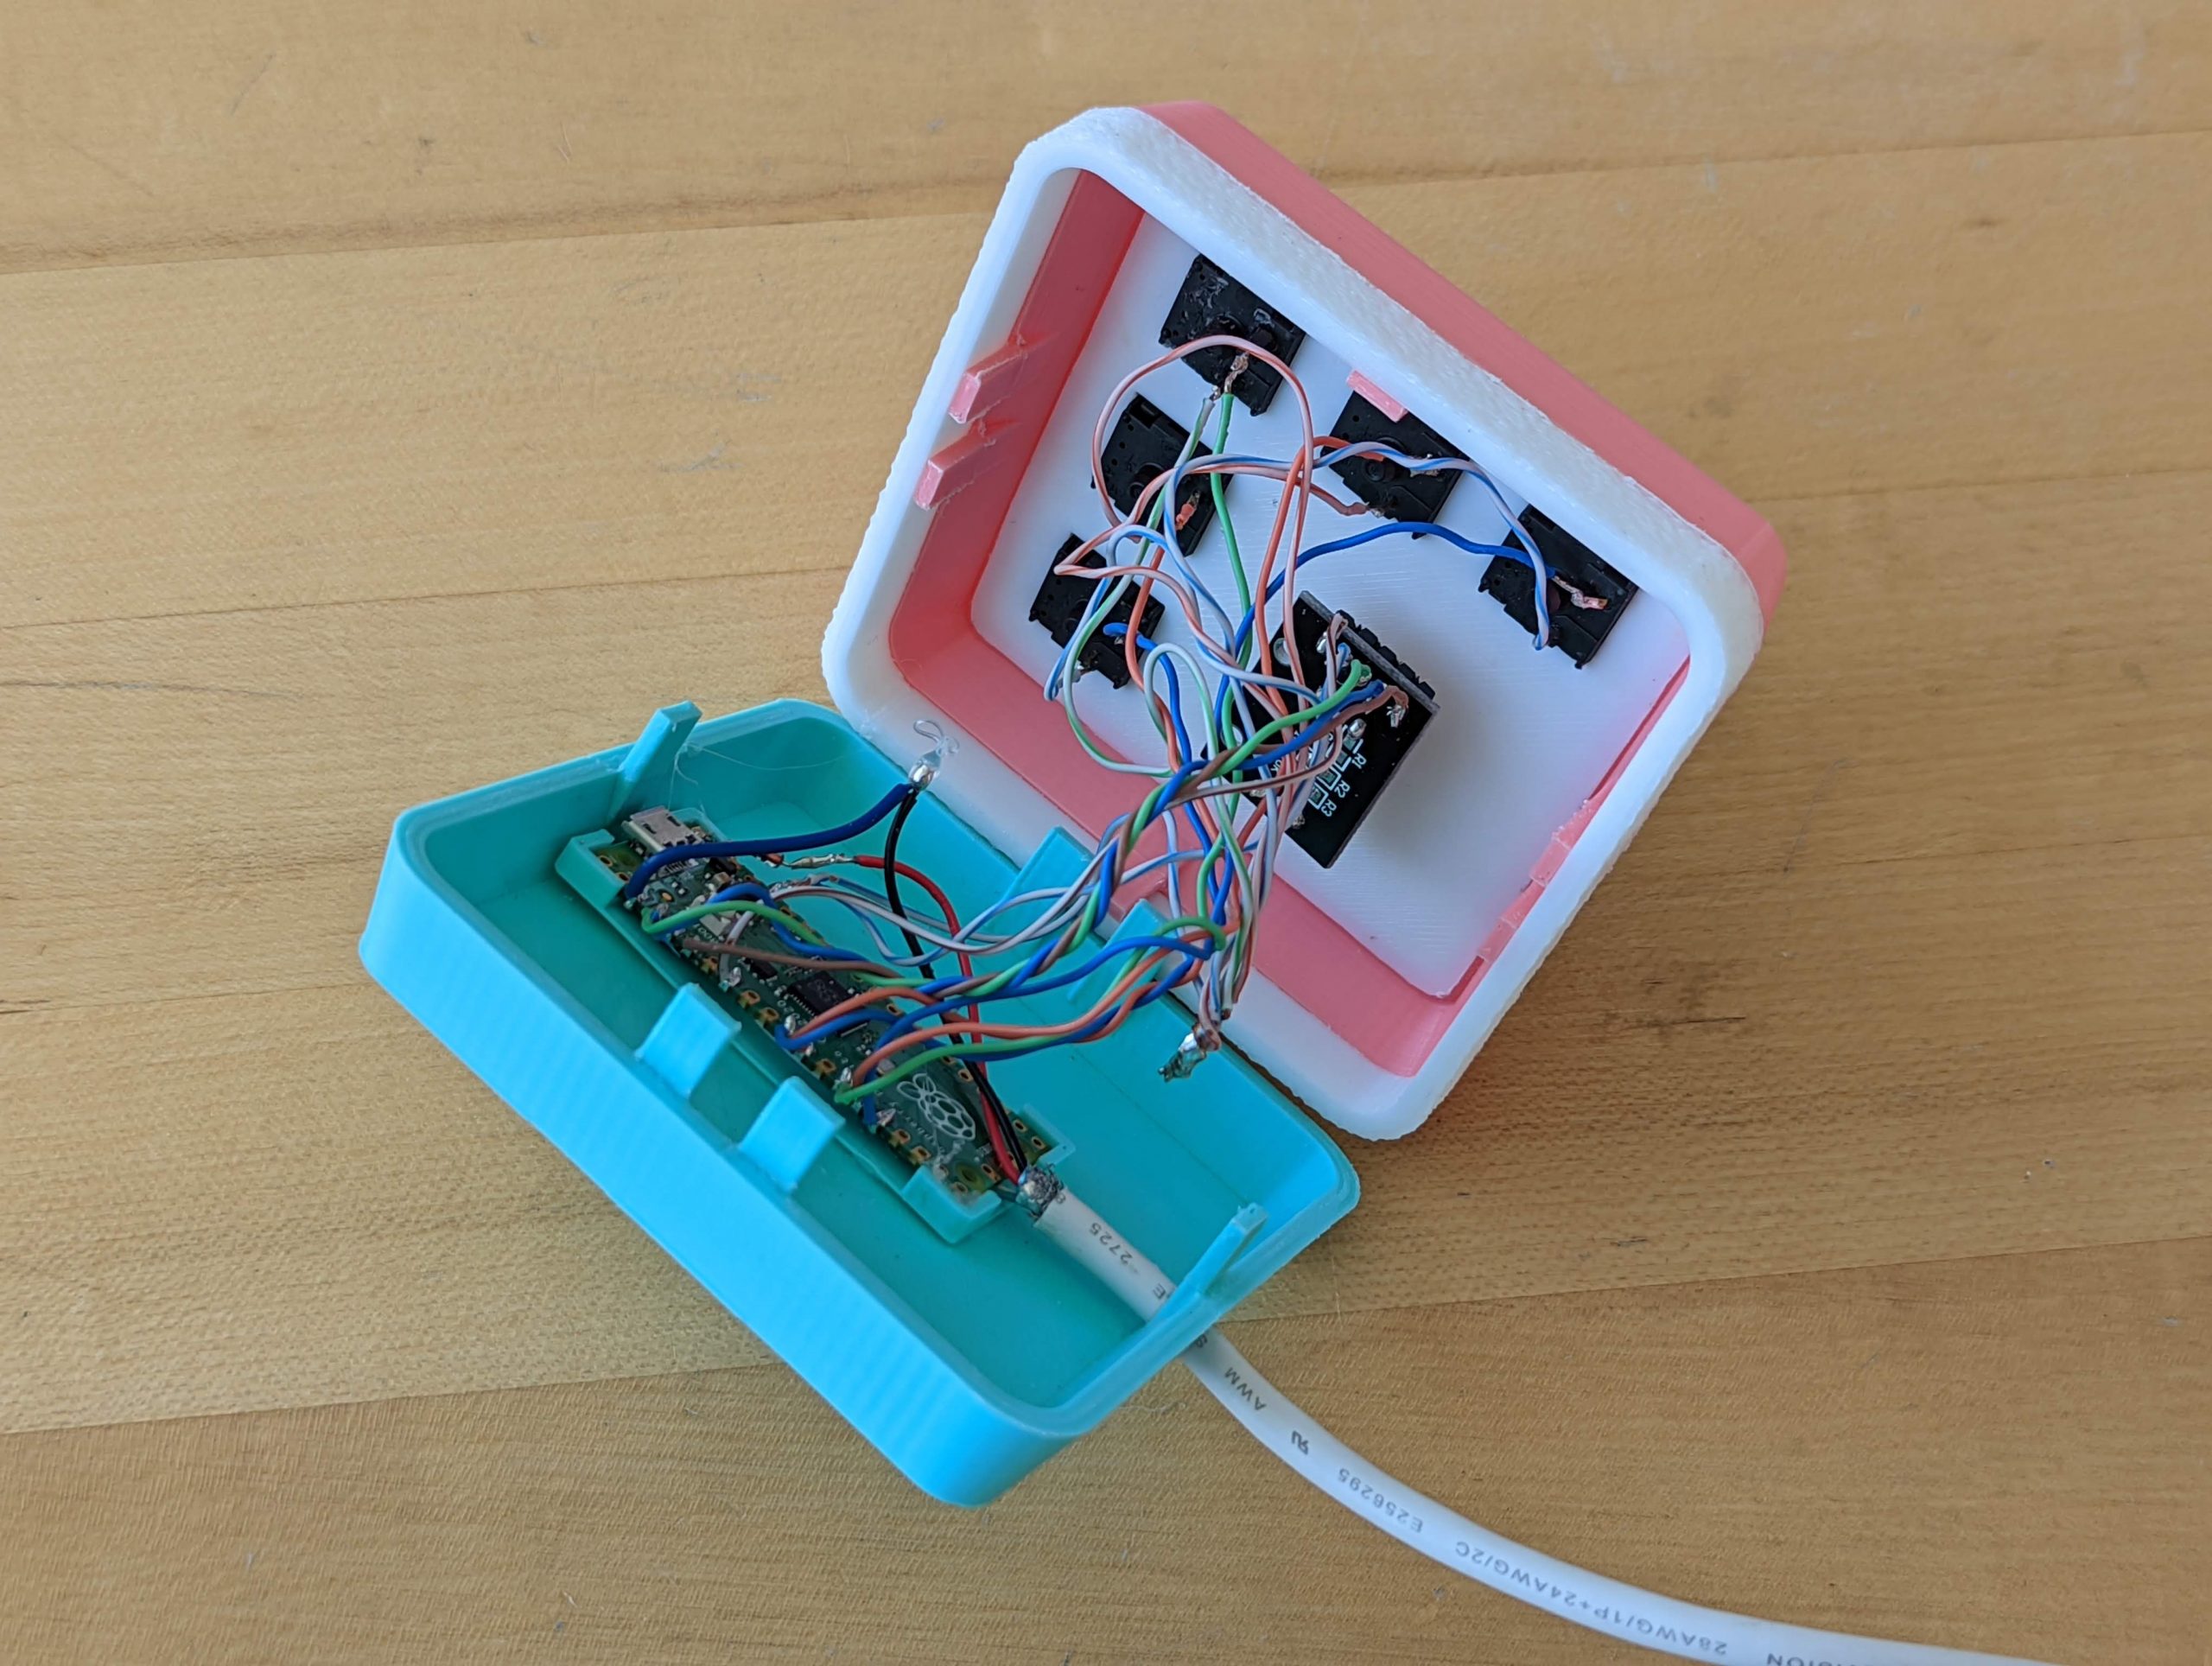
I made a quick breadboard prototype then once I was happy with it, wired and soldered everything together. A network cable donated all the wires needed to connect the keyboard switches to the Pi Pico’s pads input and output pads.
But what about power and data? For that, I turned to the official datasheet from the Pi Foundation!
Section 4.5 “Powering Pico” explains that if you’re not going to use the USB port on the micro controller itself, it is safe to power the Pico via VSYS /PIN39: I added a diode for good measure.
Section 2.1 “Raspberry Pi Pico pinout” explains that test pads are provided on the back of the board to use the Pico as a surface mount component – specifically TP2/USB DM and TP3/USB DP! It took a couple tries to find which wire from the USB cable to solder to which test pad, but once I found the correct combination the Pico was automatically recognized by the host computer. Section 2.2 “Surface mount footprint” has all the placement details.
Next it was time to figure out a package for this build! I don’t have a lot of memories from my childhood, but I do remember that a long long time ago my parents got me…my very first joystick. And I very quickly broke it 🙁
(I couldn’t find any freely available pictures for the TRS-80, self-centering joystick by Tandy, so you’ll have to check these search engine results instead!)
I thought this was a great opportunity to pay tribute to first joystick: I used that blocky shape as a starter base, and came up with a design with very forgiving tolerances, no supports needed and interchangeable parts you can print in different colors.
Do you like the colors? I love them too! I had a bunch of PLA plastic spools in these cream colors to use up. And it was pointed to me later that these were also the colors of the non-binary transgender flag. What a delightful coincidence!
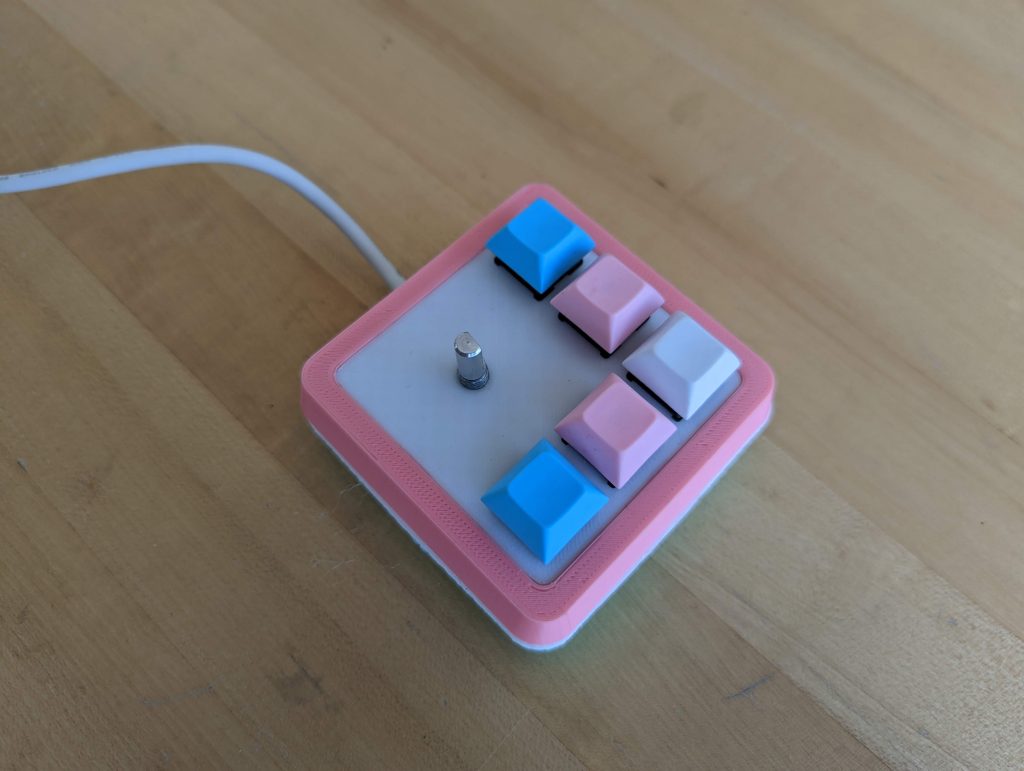
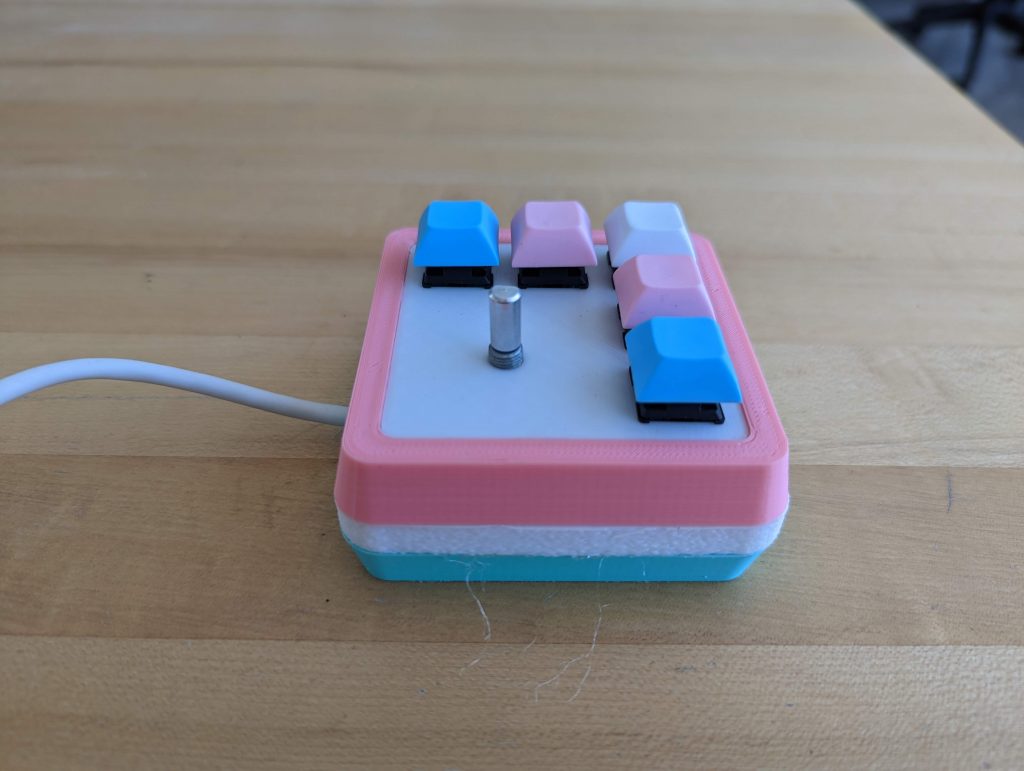
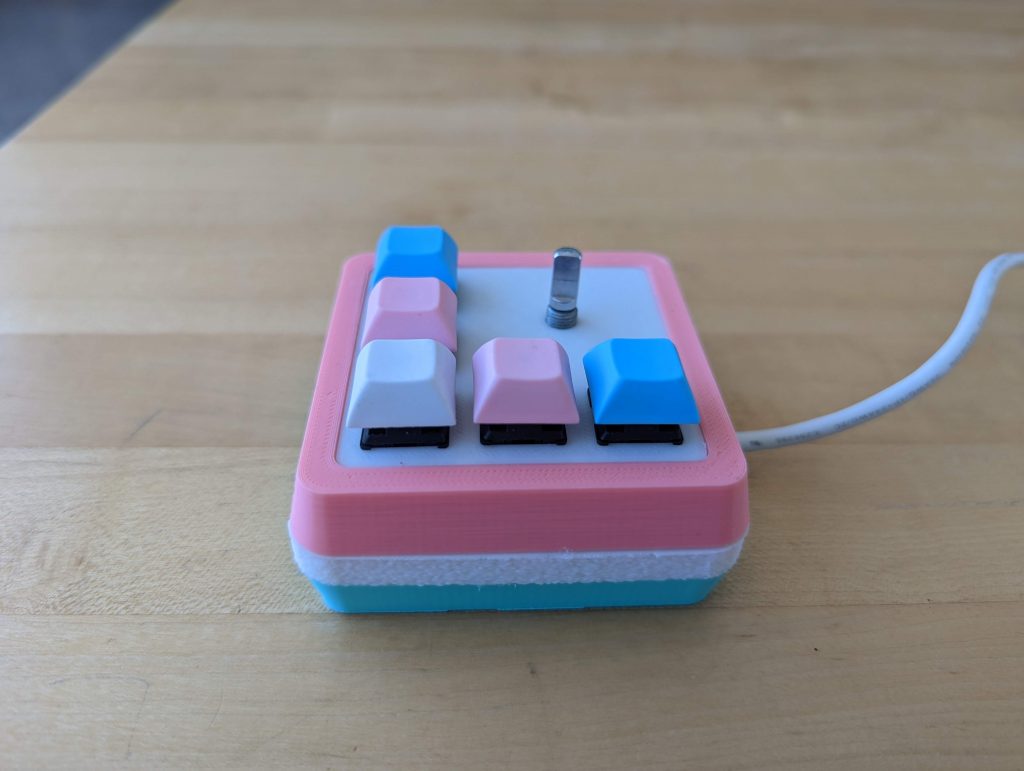
This is what the final build looks like. The five keys control the functions I listed earlier; the rotary encoder controls the volume and clicking it mutes and un-mutes sound on the computer thanks to a mish-mash of Pico-based keyboard projects, mostly from the Adafruit Learning System. When you build something this way, it’s best to work one step at a time: I started with the keyboard switches functionality and macros, then clicking the rotary encoder, and finally controlling the volume reliably.
I’ve been using this macro keypad every day since we moved back into our offices and I love it! All it needs is a custom cap for the rotary encoder. I will also go back in to insulate more of the open connections with hot glue and electrical tape as suggested by some of the readers on Hackaday!
If you would like to make your own, all the 3D printing files and code are on GitHub. Enjoy!