tl;dr: I teamed up with a colleague to make my wife a custom toy inspired by one of her favorite crafters on YouTube.
What do you get the person that has everything? My wife is the kind of person who shops for her own things all the time, including birthday presents, so she can be very difficult to get a present for. So what better to get her than something you can’t buy because it’s not for sale? This is the story of how I made her toys – complete with packaging – inspired by YouTube maker Crafsman’s Steady Craftin’ universe.
It all started with the toys: Crafsman shares a lot of his creations supporters of his Patreon campaign, including 3D printable figurines: as a participant, I downloaded his “self-portrait” figurine as well as A.G.U.A – the Aquatic Gentleman of Uncertain Abilities.
I reserved a few slots on my workplace’s resin 3D printer to print the figurines. After cleanup – you know the drill for resin 3D prints: alcohol bath, removing supports, filing and prepping surfaces! – I commissioned brushesKC to paint the figurines! Surprise surprise, I wouldn’t know what to do with a paintbrush!
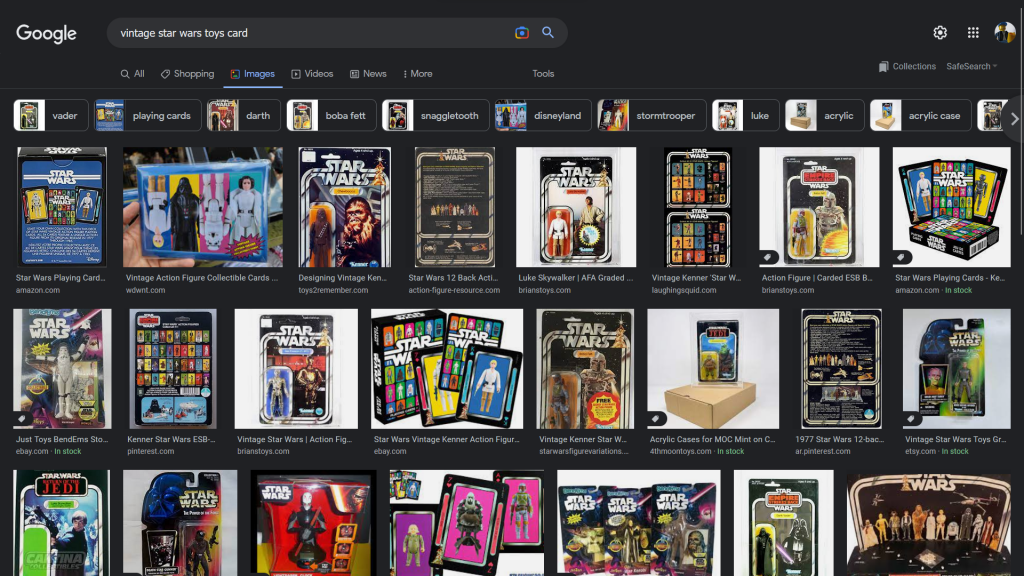
While my colleague was working on his own interpretation for the figurines, I started putting together the packaging concept for the toys. My wife is a big Star Wars fan so I collected a lot of reference and vintage and contemporary Star Wars toys. Usual suspect Google was great help, as well as ebay and various auction houses’ websites! I saved everything I wanted to use as a reference picture and moved on to the next step.
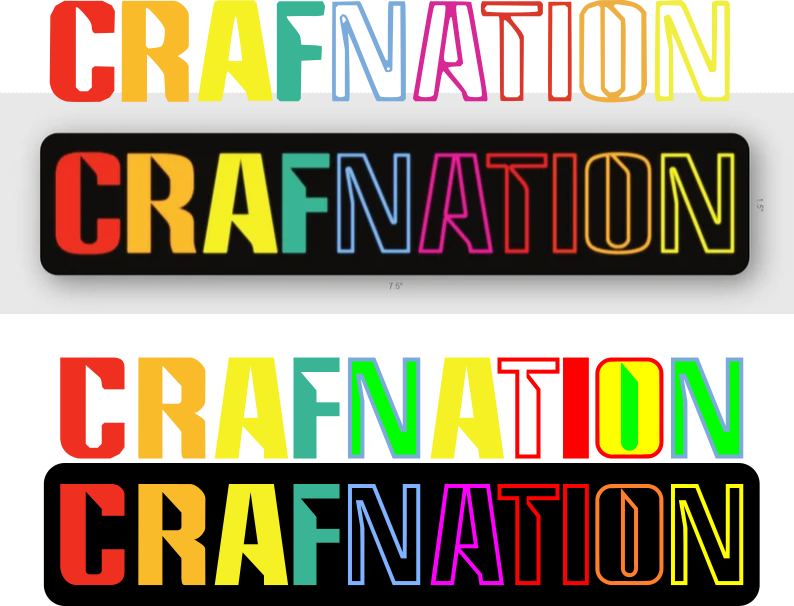
After all the planning and reference research, I started Inkscape and began recreating the Crafnation logo and the Steady Craftin brand in the style of Star Wars logo. Inkscape’s tracing tool is really powerful, but it cannot always guess a straight line from tracing pixels. After the initial tracing, I straightened up both logos using guides and nodes: it was also a good time to pick straight colors from Inkscape’s color palette rather than the colors it inferred from tracing!
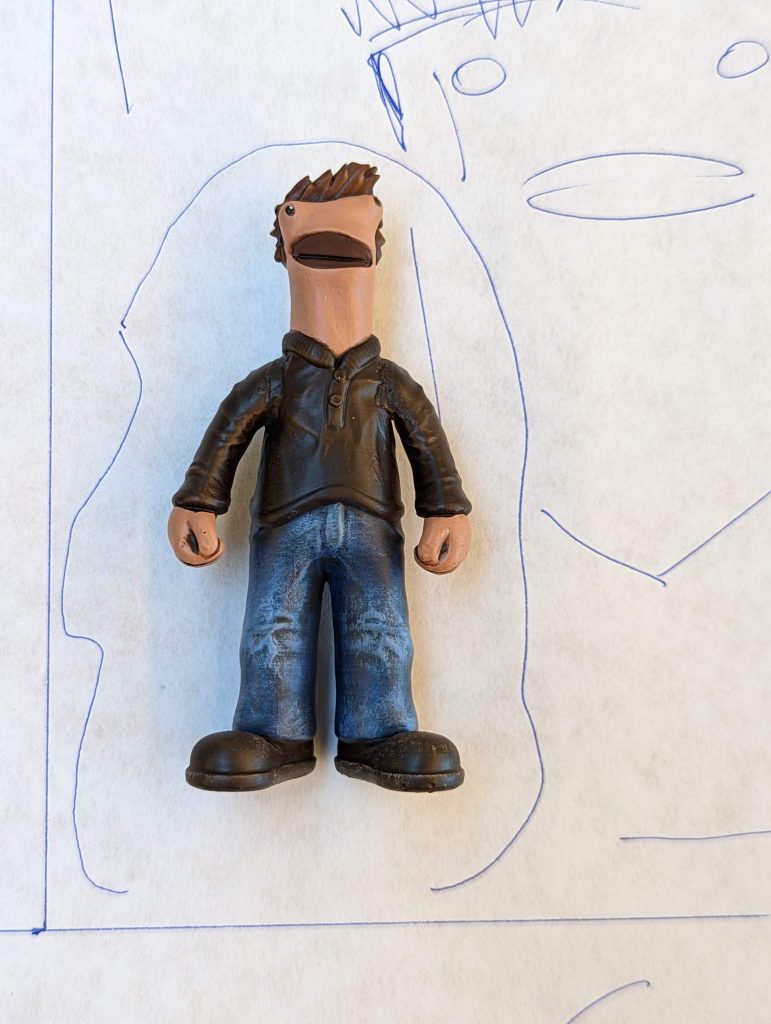
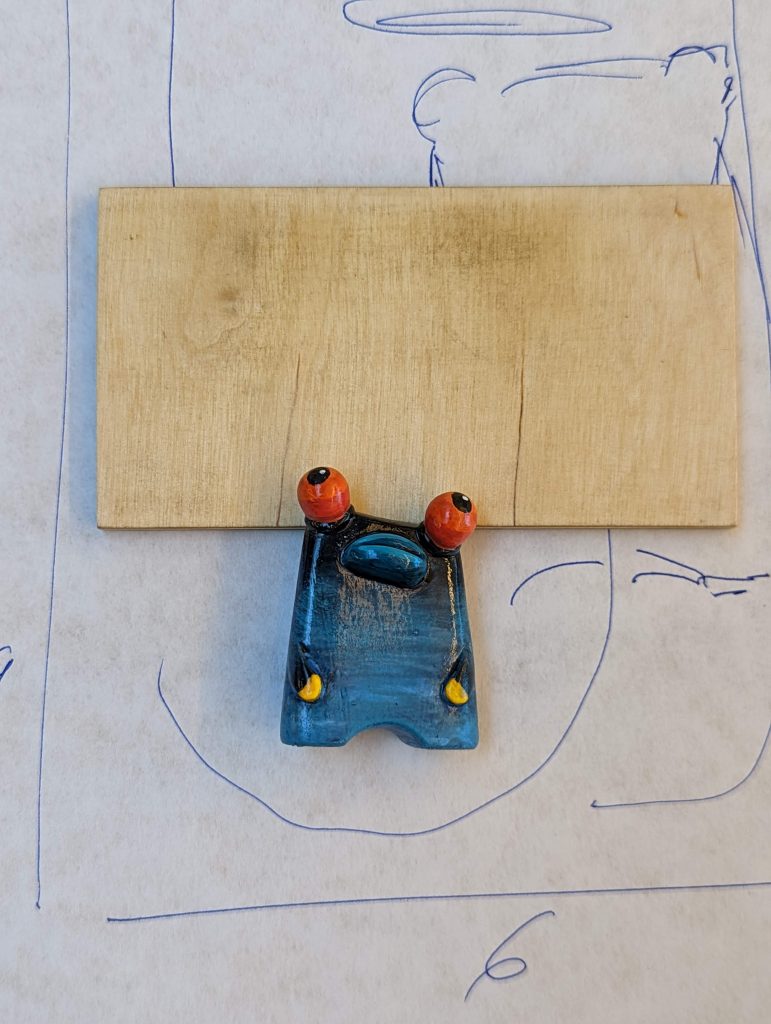
Once my colleague returned the figurines (and looking awesome!), I sketched the general layout for the packaging. I organized the final layout for the front card and used screen captures from Crafsman’s videos on YouTube to illustrate the cards. Finally, I added the toys’ names to the front of the card using the custom SC Film font – another one of Crafsman’s Patreon campaign perk!
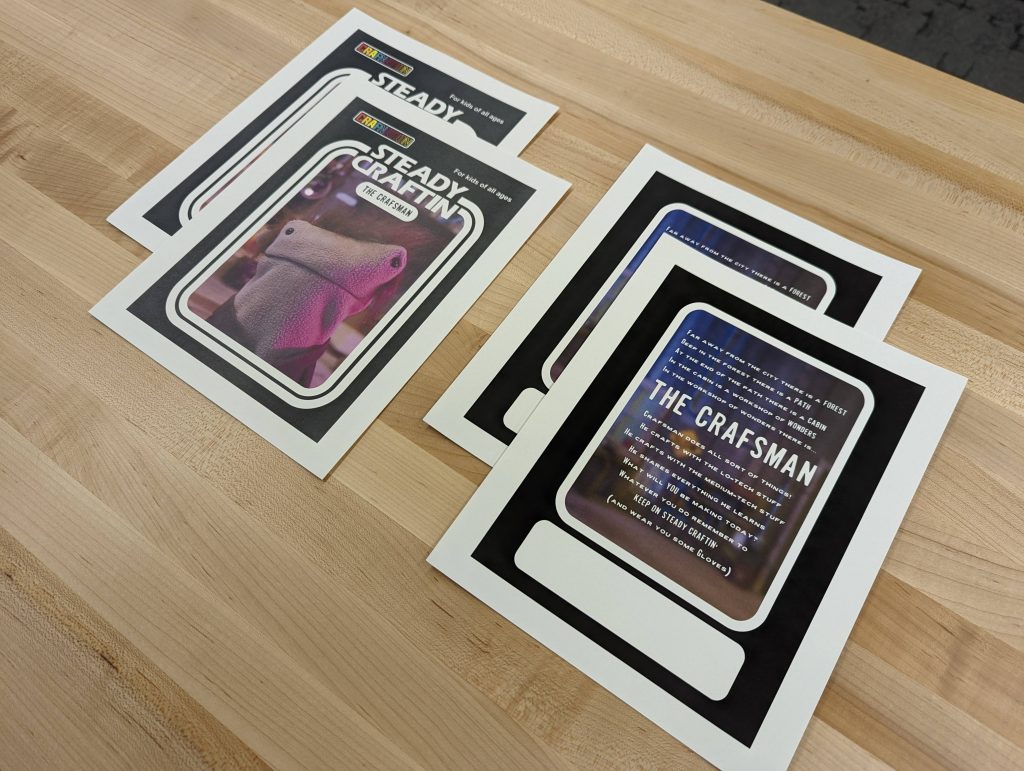
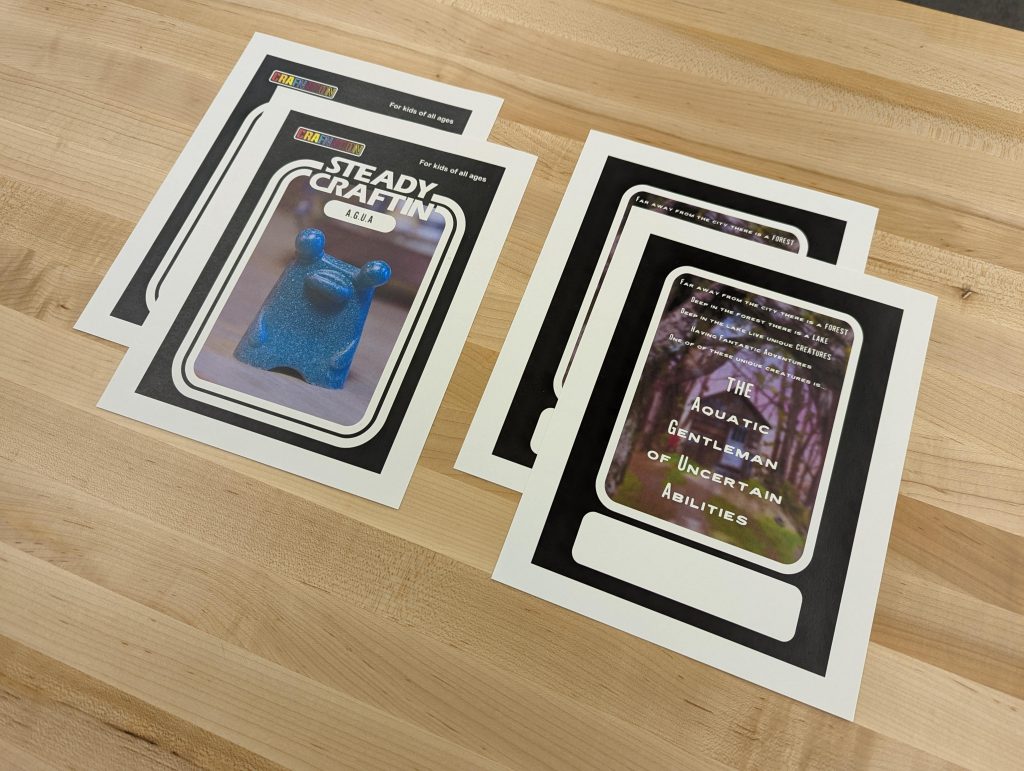
Then it was time to start working on the back of the cards! I reused some of the graphics from the cards fronts for framing, collected another couple of screenshots from Crafsman’s videos for illustration, and wrote a short flavor text for each toy card. I tried improving the contrast between the background and flavor text on the back of the card by tweaking the opacity settings, and liked it so much that I did the same for the front of the cards.
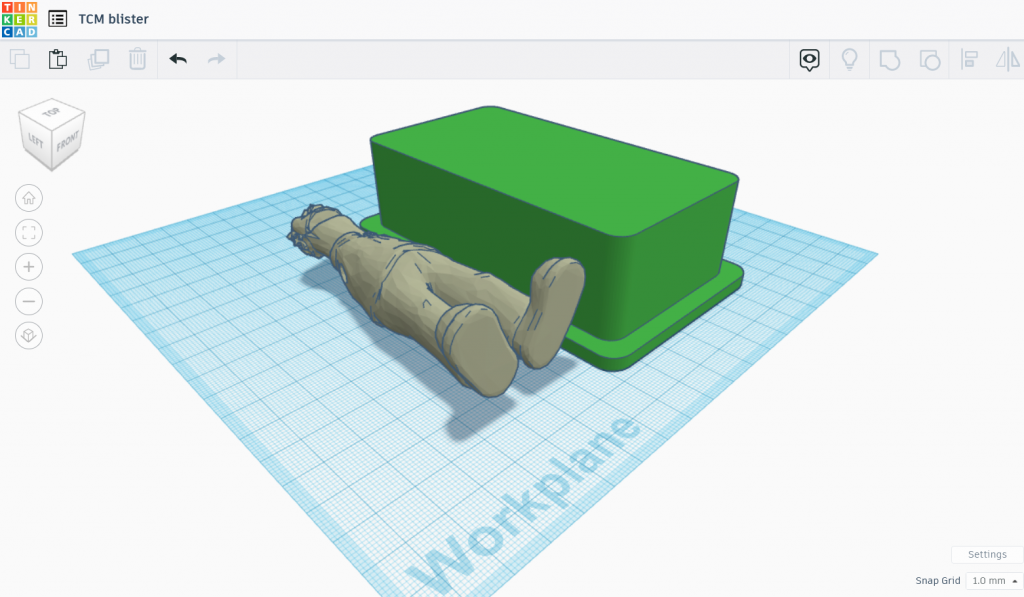
I used the 3D models and assembled figurines to model a couple vacuum forming bucks in TinkerCAD, then went to the Olathe Public Library’s Lab at Indian Creek to form the blisters using the 3D printed bucks on their Mayku Form Box. Shout out to the Lab’s team for coaching me through using this piece of equipment! I had a great experience.
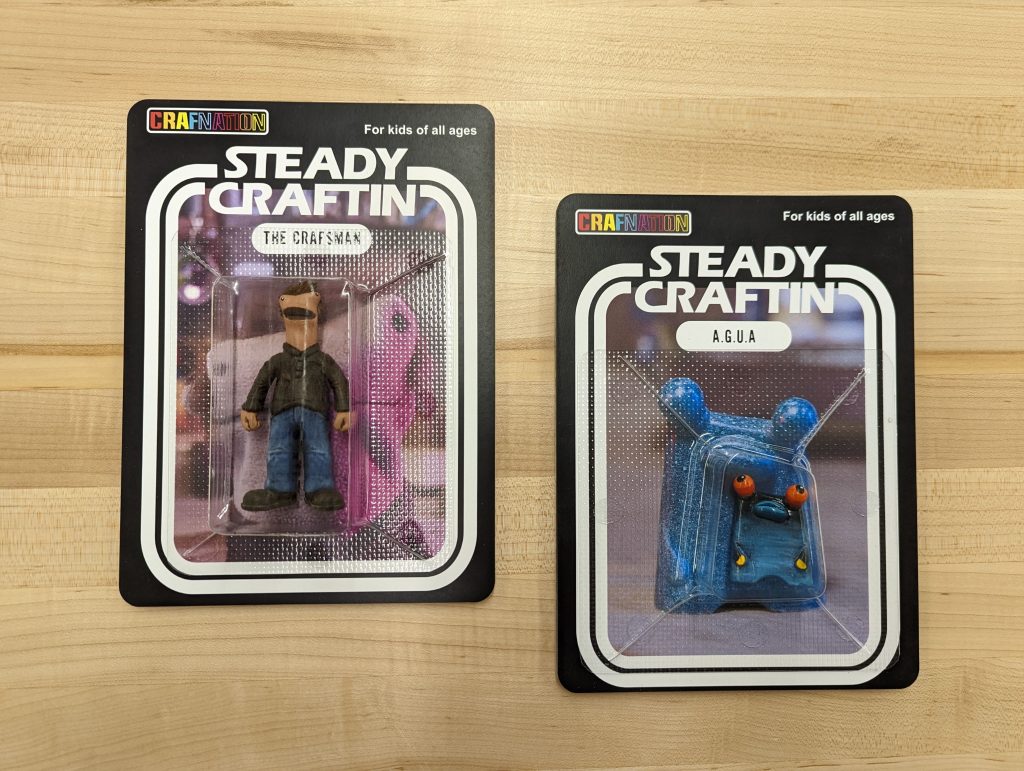
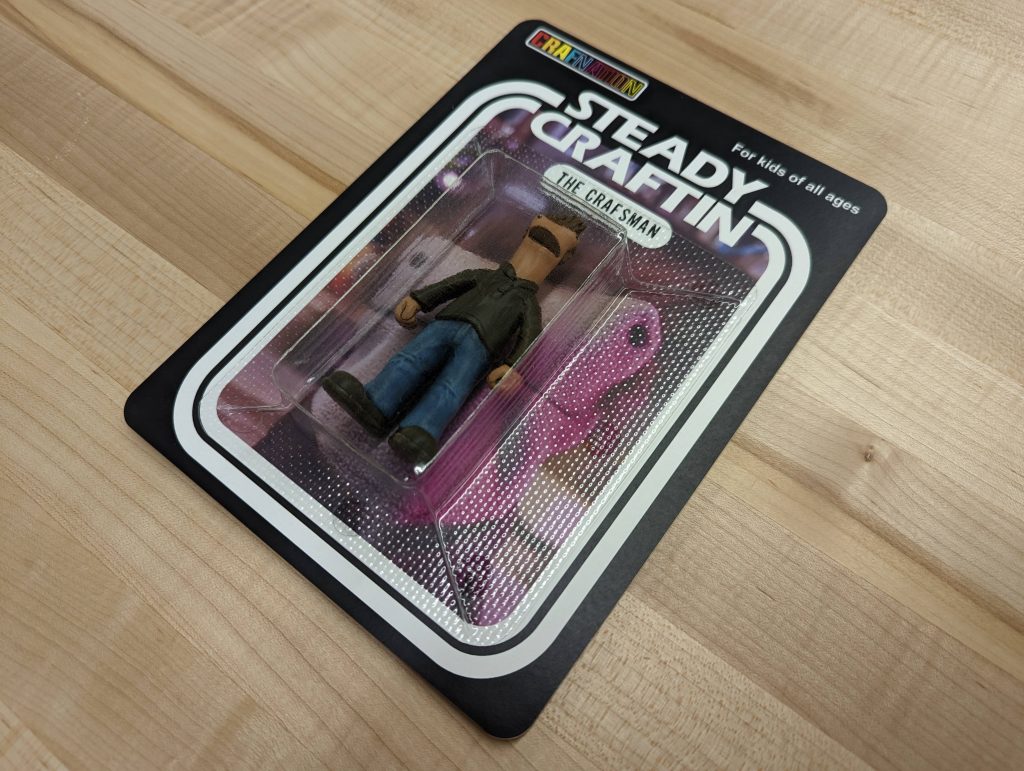
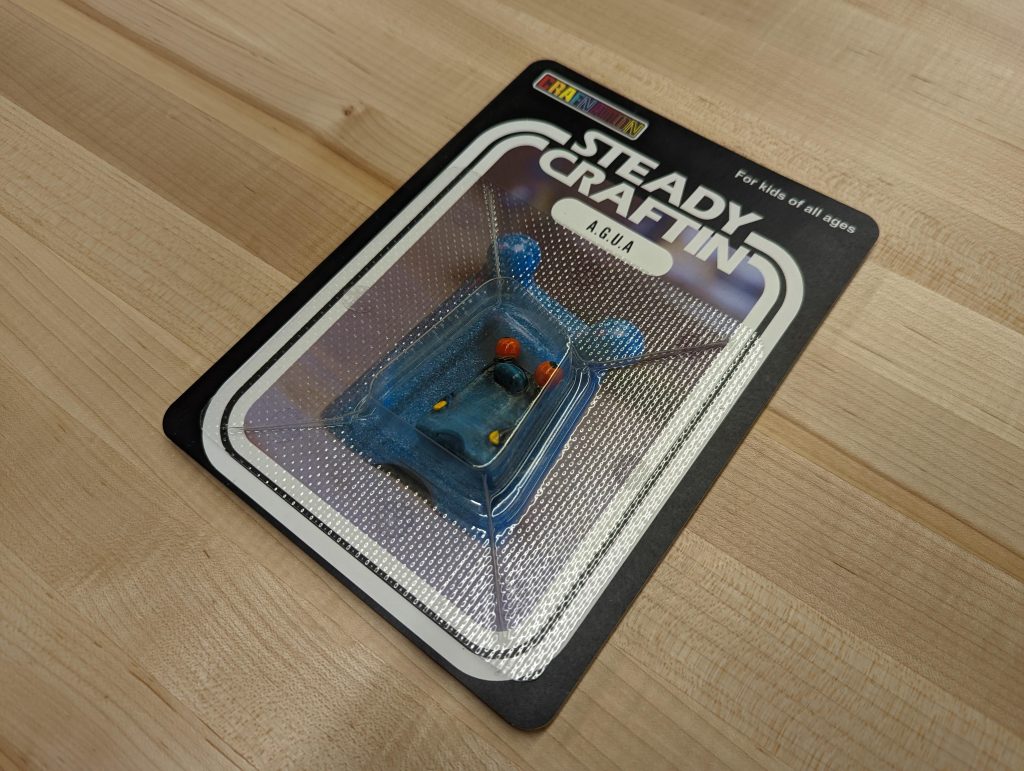
It was finally time to put everything together! I printed the graphics on a laser printer with regular Letter size paper before spray-glueing them on thick cardboard. I trimmed the blister packs with a paper cutter and after a few experiments with CA glue and hot glue, I settled on Gorilla Glue dots to attach the blisters to the front of the card.
Is there anything better than working on a fun build for someone who’s important to you? This one scratched the same itch as the custom Lego gifts I made for my colleagues in 2020! If I would revisit it, I would probably tweak some of the graphics on the back card, add a whole lineup of figurines to collect on the card backs, and look into getting cleaner vacuum forms from the bucks. But mission accomplished, the gift was a success!