tl;dr: I wrote a Python script so we could digitize 248 pieces of Summer Reading art in 2 minutes – and save us days of scanning and editing by hand!
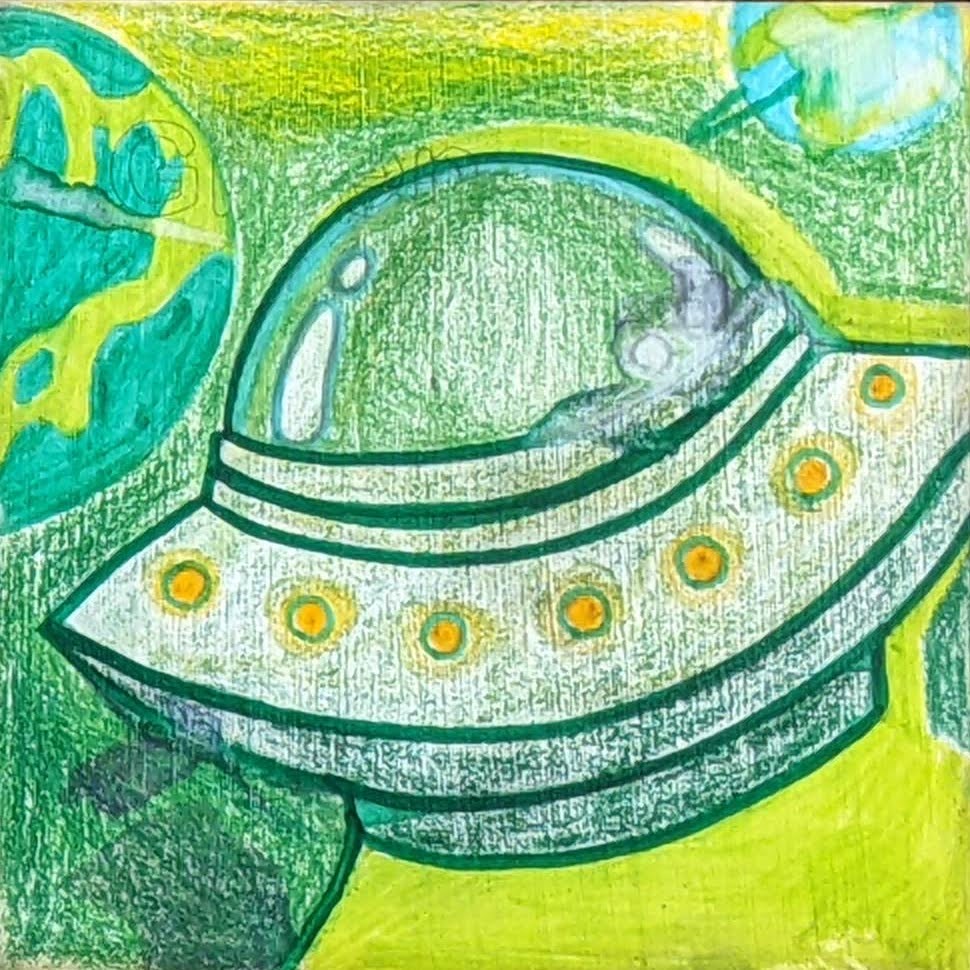
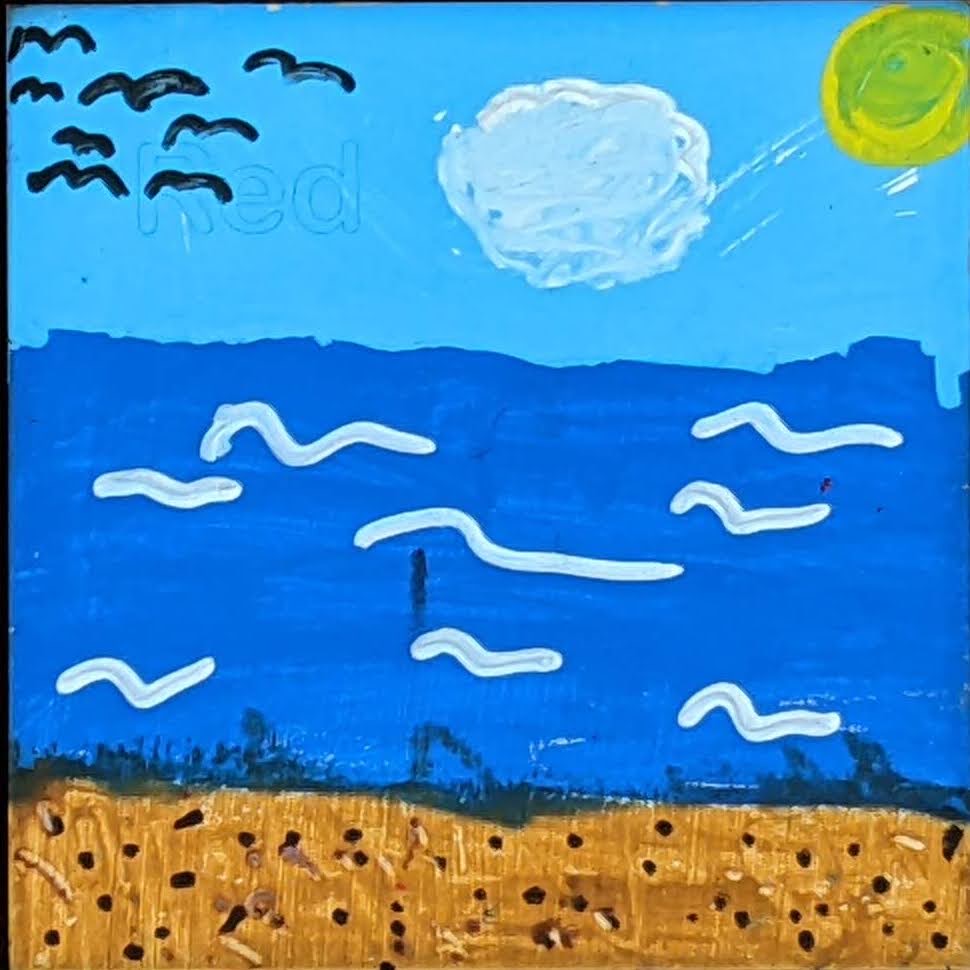
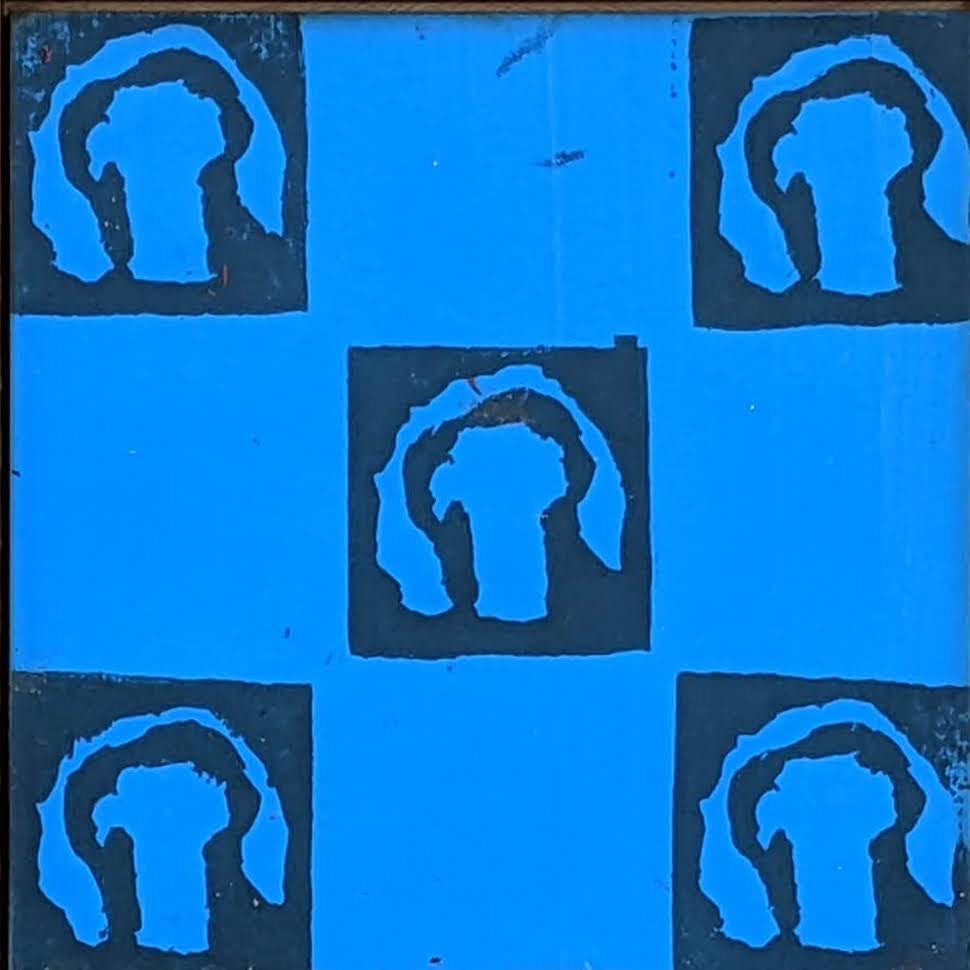
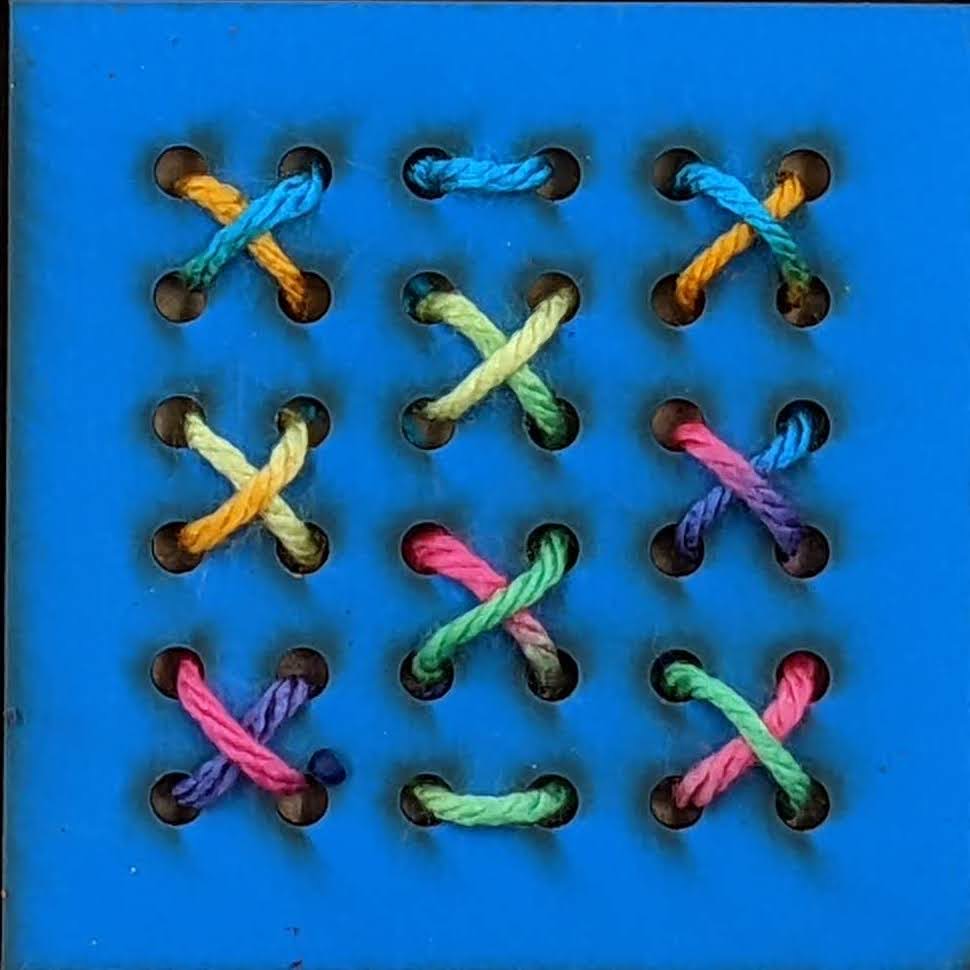
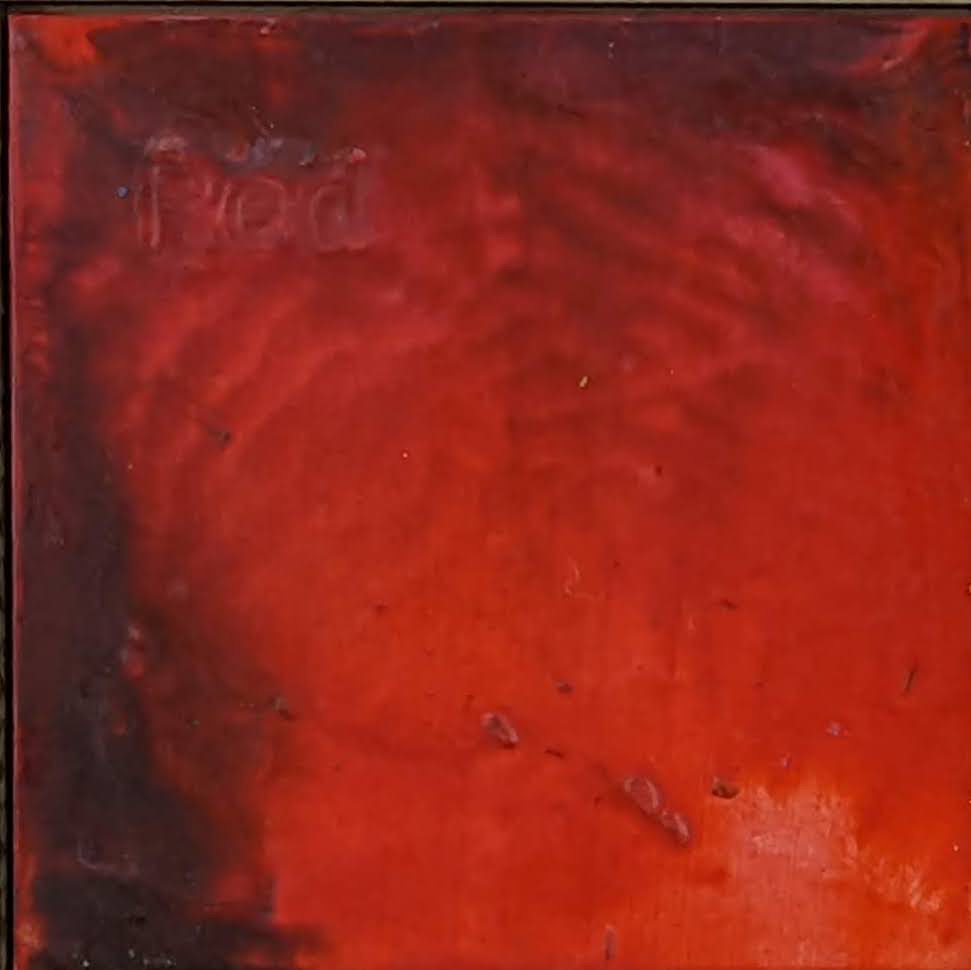
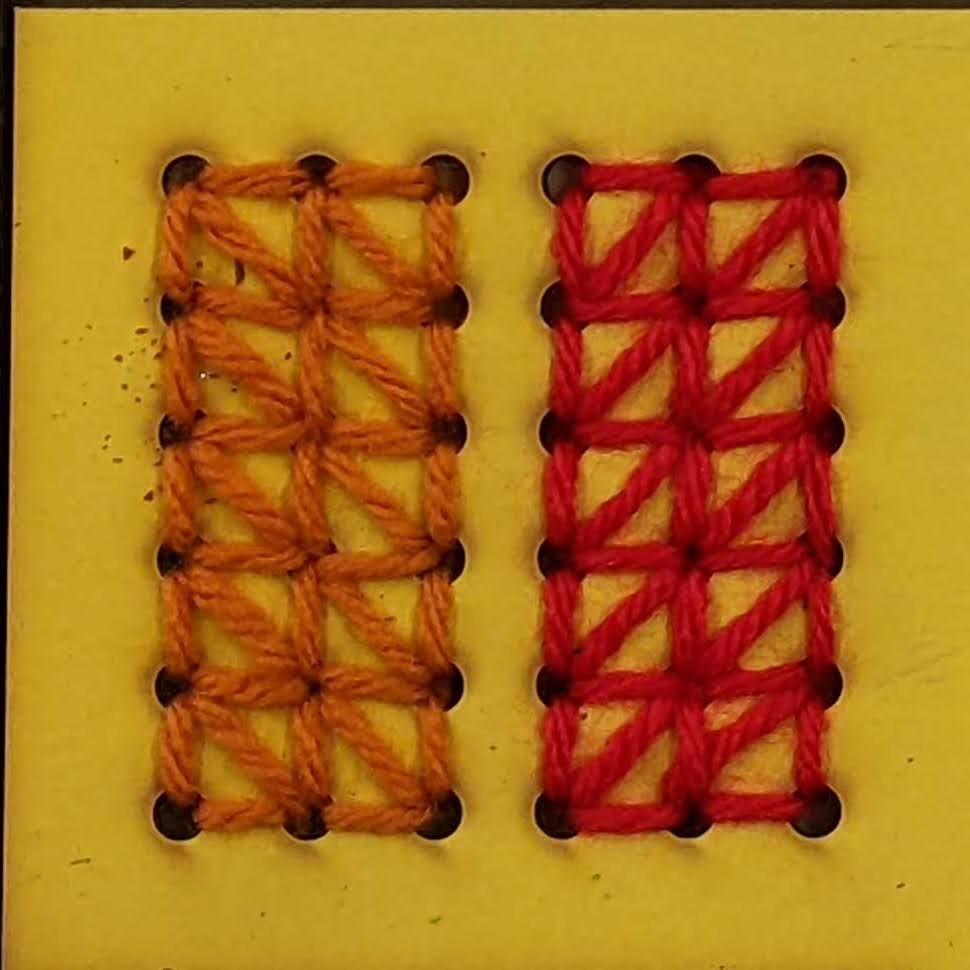
The theme of our Summer Programming at the library this year was “All together now”: for the occasion, our colleague Lydia designed an activity where kids and their families would decorate plywood tiles using drawing, stamping, light cross-stitching and crayon melting that would come together in one big mosaic at the end of Summer!

In the back of our minds, we thought it would be cool to digitize all that art to put on the MakerSpace website for people to see. We all believed it was a great idea – and before we knew it we found ourselves looking at a stack of over 200 tiles with volume and texture that wouldn’t sit well in a scanner!
Summer Reading programming had wrapped up, kids and their families were waiting to see their art online and we needed the tiles for mounting as a mosaic on the wall of the MakerSpace…So I came up with a plan and got to work!
Prep and dataset
The first challenge was to digitize each unique tile while preserving their individuality – texture, volume and all.
I quickly decided that it wasn’t worth trying to squish them in our scanner: instead, I brought out of storage the overhead filming rig we had put together during the COVID pandemic to film Take-and-Make videos and some of the tutorials for our new equipment!
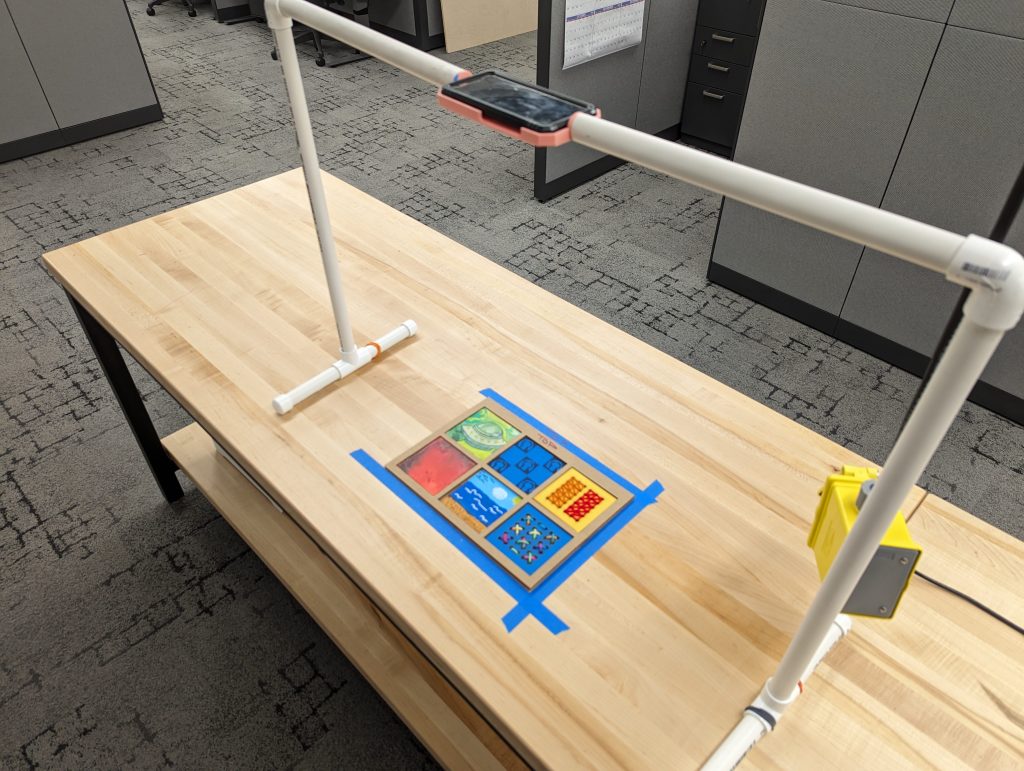
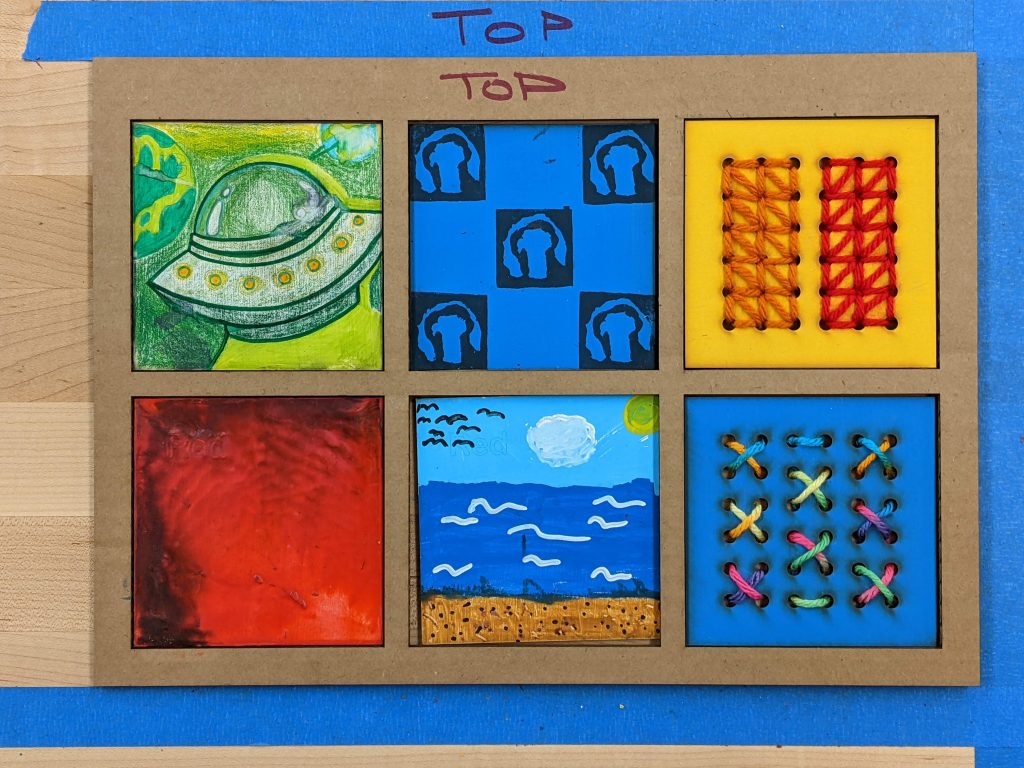
Thanks to the jig, a laser-cut piece of chipboard and an old Pixel smartphone we had lying around, I photographed the tiles in batches of six with consistent positioning and little distortion!
With a consistent set of pictures to work with, it was time to start conceptualizing and writing the script.
Python workflow
I decided the script should rely on fundamental libraries like os, Pathlib, and Pillow as much as possible. Here’s a breakdown of how it works:
- File opening: I used
osandPathlibto manage and open the source files, sources directories and their paths; - Image Processing with Pillow: I already had experience with the
Pillowlibrary for image processing so I played to my strength and used that same library to turn the image files intoPillowobjects; - Tile Isolation: The script isolates each tile within the group photo thanks to a specific set of coordinates – we know they’re fixed in space thanks to the chipboard jig! – and saves each isolated tile as a
Pillowobject in a dedicated list; - Saving the digitized tiles: After extracting, the script goes through each item in the list and uses
Pillow’s.save()function and a unique filename to save each isolated tile to a specific file.
The result
After running a couple tests, I unleashed it on our data set. All the tiles were sorted out in less than a couple minutes! Was the result perfect? Not quite enough for me! Due to the variations in volume, angles and lighting, there are still some little flaws in the alignment here and there. But it is good enough for our project? Absolutely!
This might not seem like a big deal, but in a context where we are constantly trying to make the best use of County money and resources, this probably saved us about a couple days of work! And we’ll be able to keep using the script for more projects like these in the future.