tl;dr: I built another budget computer keyboard, this time inspired by the design vibe of Loki’s Time Variance Authority.
My wife and I are both big fans of the show Loki, and big fans of designs with a strong intent! The show’s Time Variance Authority really leans into the old-yet-timeless-tech vibe, and I thought putting together a mechanical keyboard built around that same theme shouldn’t be too hard! Judge for yourselves with the pictures below, and read on for a (very short) build guide, as it’s very easy to build that same board for yourself.
What makes it a budget build?
I call this a budget build because:
- I picked a 60% layout, meaning cheaper boards and parts that are cheaper and easier to find thanks to the popularity of this layout with hobbyists and economies of scale;
- no wireless features, meaning electronics we won’t have to pay for;
- an almost-generic brand famous for focusing on a few decent items in each field it tackles without breaking the bank
- I aggressively shop for open box or second hand part
The keyboard
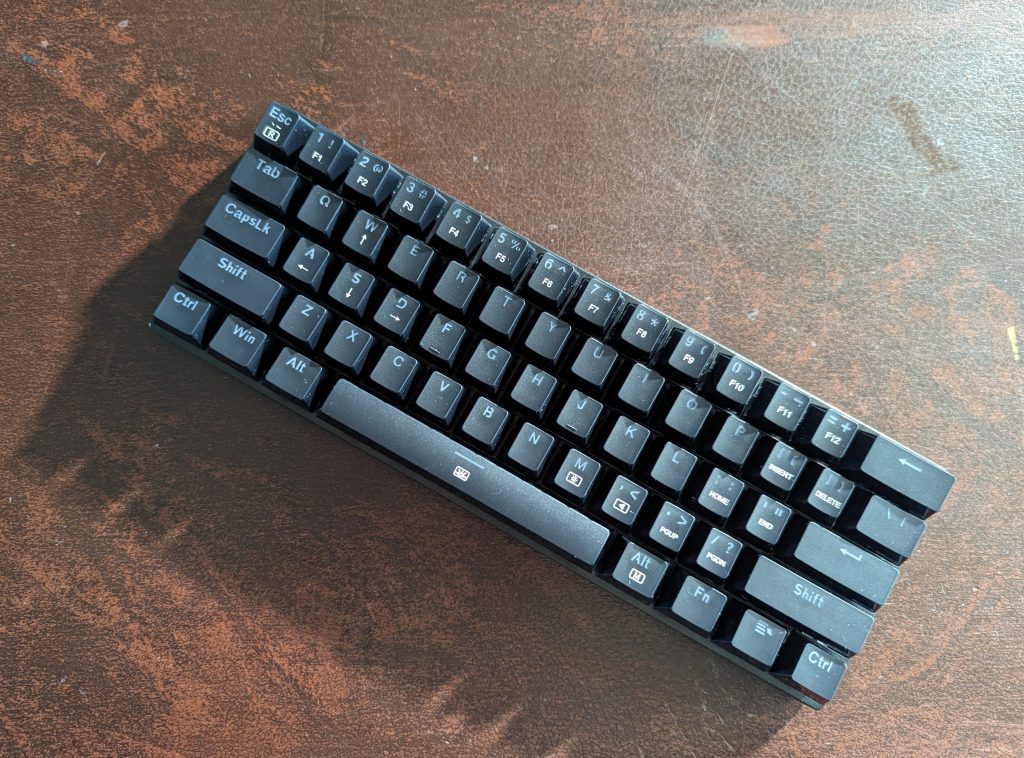
We kick things off with a very, very affordable 60% keyboard by Inland. Inland is a maker-oriented brand that makes…Everything, from 3D printing filament to laser cutting materials to electronics. This Inland Rapture Mini can be picked up from your nearest Microcenter for $40, even less if you can find an open box version like I did.
The switches
Nothing to write home here! I’m very happy with the Outemu-compatible Brown and quiet switches that came with this keyboard, so I left them where as is.
The key caps

The first step is to take out all the removable key caps from the computer switches. Conveniently, the keyboard comes with a (red) remover tool to pull the caps out without damaging them! Don’t throw the key caps away: they can always come in handy for another board while you’re waiting for a specific set of decorative key caps to come in the mail, or they can easily be turned into pretty cool pins using pin backs and your trusty hot glue gun.
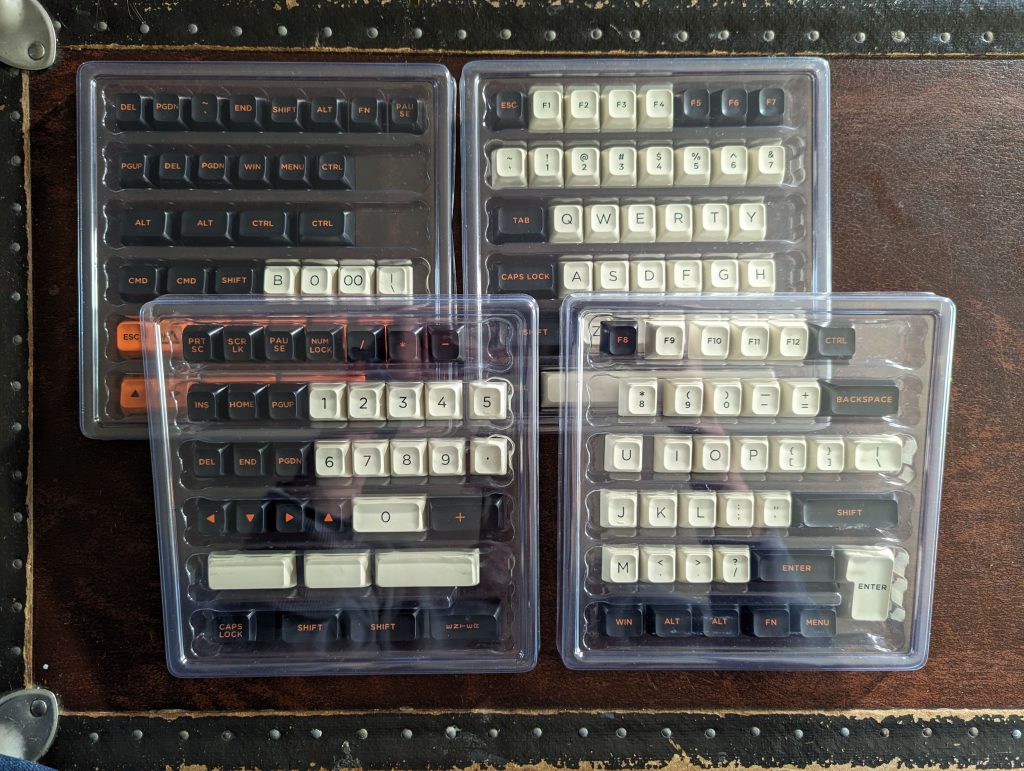
Still shopping at Microcenter, I found out that Inland (they really are everywhere) had a nice-looking set of “spherical” key caps that channel the rounded, minimalistic esthetic of older computers. And the set was on sale too! So I picked it up to install.
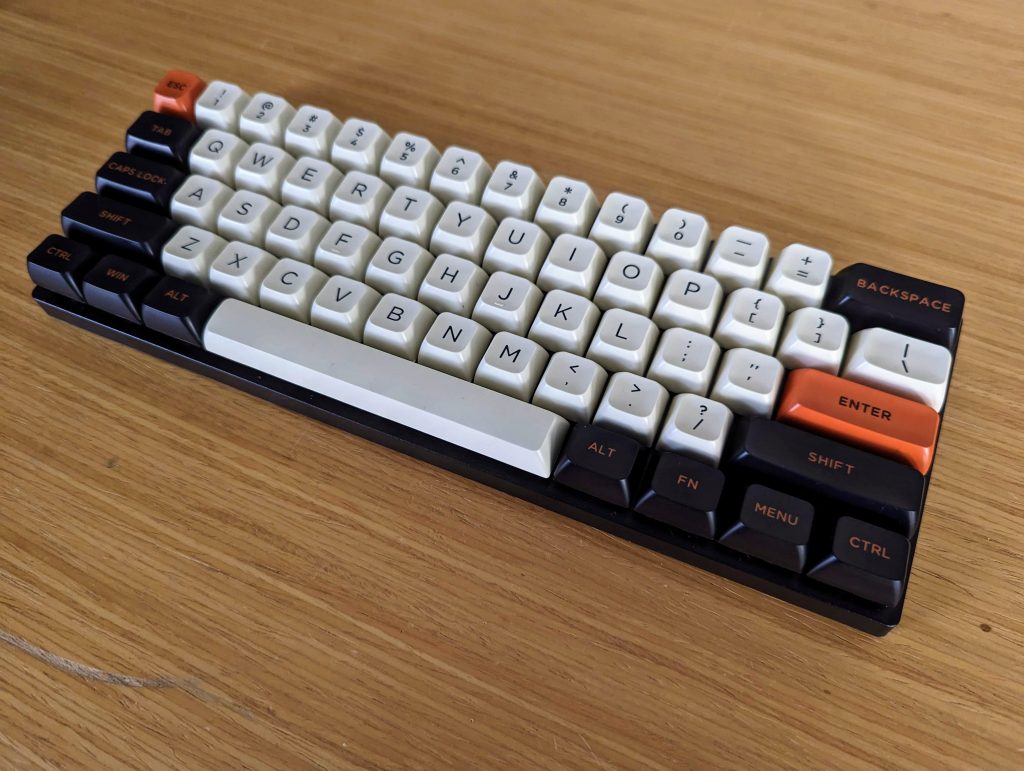
Installing the key caps was very straightforward:
- Take a keycap
- Put it over the corresponding key
- Press down
- You’re done!
- Repeat until you run out of key caps!
Connectivity
Some of the caps in this set only fit other sizes of keyboards, so you’ll have extras: you can mix and match them with other keycaps sets, or make smaller mechanical keyboards to put them to work!
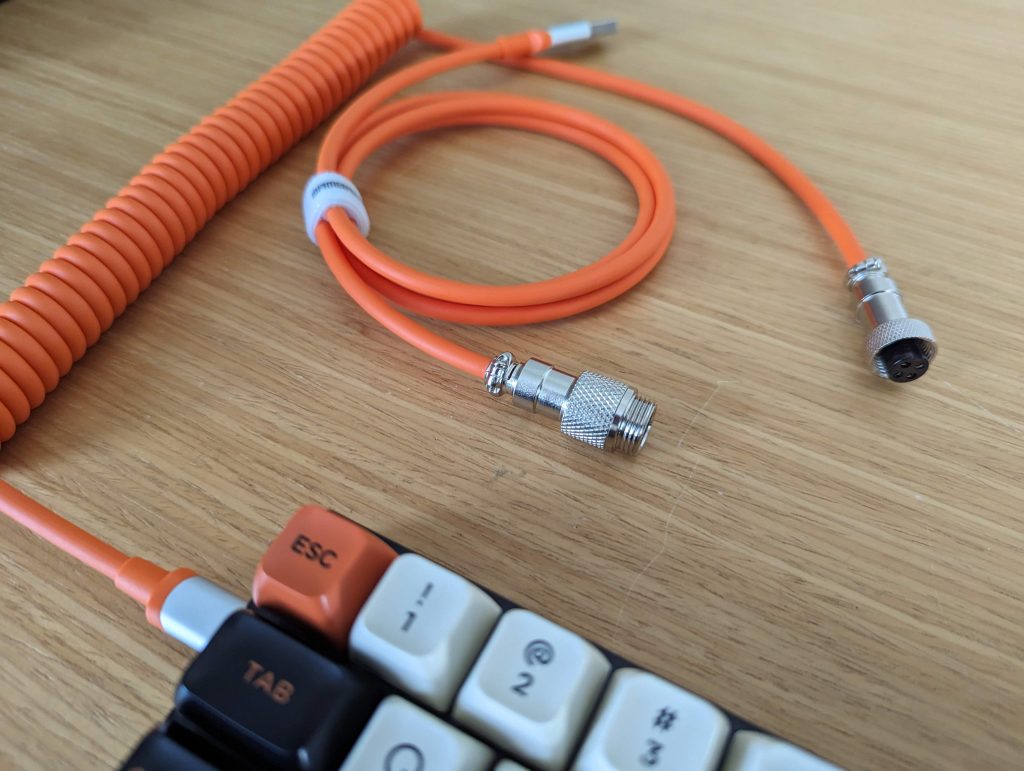
Since this keyboard is a wired keyboard with a distinctive look, I picked a USB cable with an aviation connector online in matching color to tie the look together.
Voila!
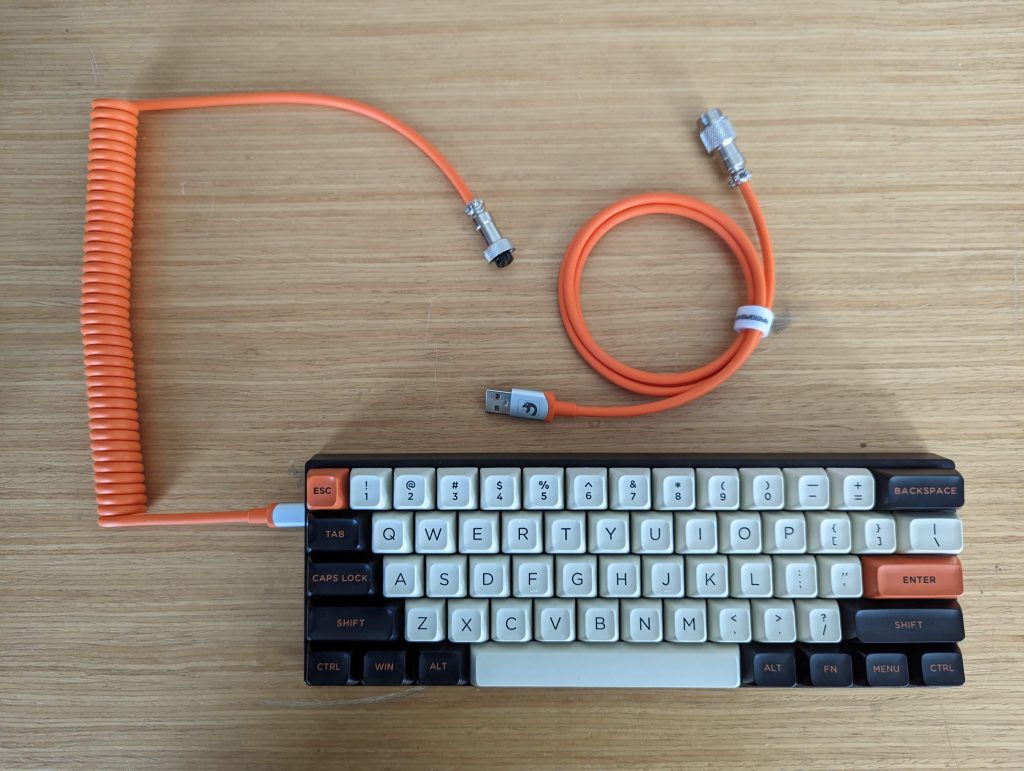
The Mobius keyboard is complete! I’ve been using it for a couple days – I’m typing this write up with it right now! – and I dig it. I’m planning to add a custom label and signature on the back, and maybe a TVA logo on the front if I can cut it on the vinyl cutter easily. I don’t make things using off the shelf parts very often, so this was a fun and relaxing build compared to my usual, design-from-scratch heavy lifting!
Since I already have a daily driver and I’m not a big collector, I’m not sure I’m going to keep this board. I might put it up on Facebook Marketplace or Etsy sometime soon! We’ll see.
Upgrades?
This build would cost about $80 total if you’re not shopping for second hand or discounted parts, and that’s not bad at all as far as mechanical keyboards go. Which means there’s plenty of room for upgrades!
- If you would like to make this a wireless keyboard, take a look at the K530 Draconic by Redragon. It’s the same board as the BBK530 kit I use in my daily driver keyboard, Soothing Gradient.
- If you’re looking for a set of key caps with a slightly different look, I’ve seen some websites recommend YMDK’s Carbon Top look. I especially like that Enter key!
- This keyboard’s switches are actually removable, and compatible with Redragon keyboards – which apparently means Outemu switches! These switches come in the same types – clicky, silent, linear – as other brands, and can be a little more affordable than other big names in the mechanical switches world.